Setup the Online MongoDB Atlas Cluster
2 min read
By Avinash
Step by Step Guide to Setup MongoDB
Step 1: Go to the MongoDB Atlas website and create a new cluster
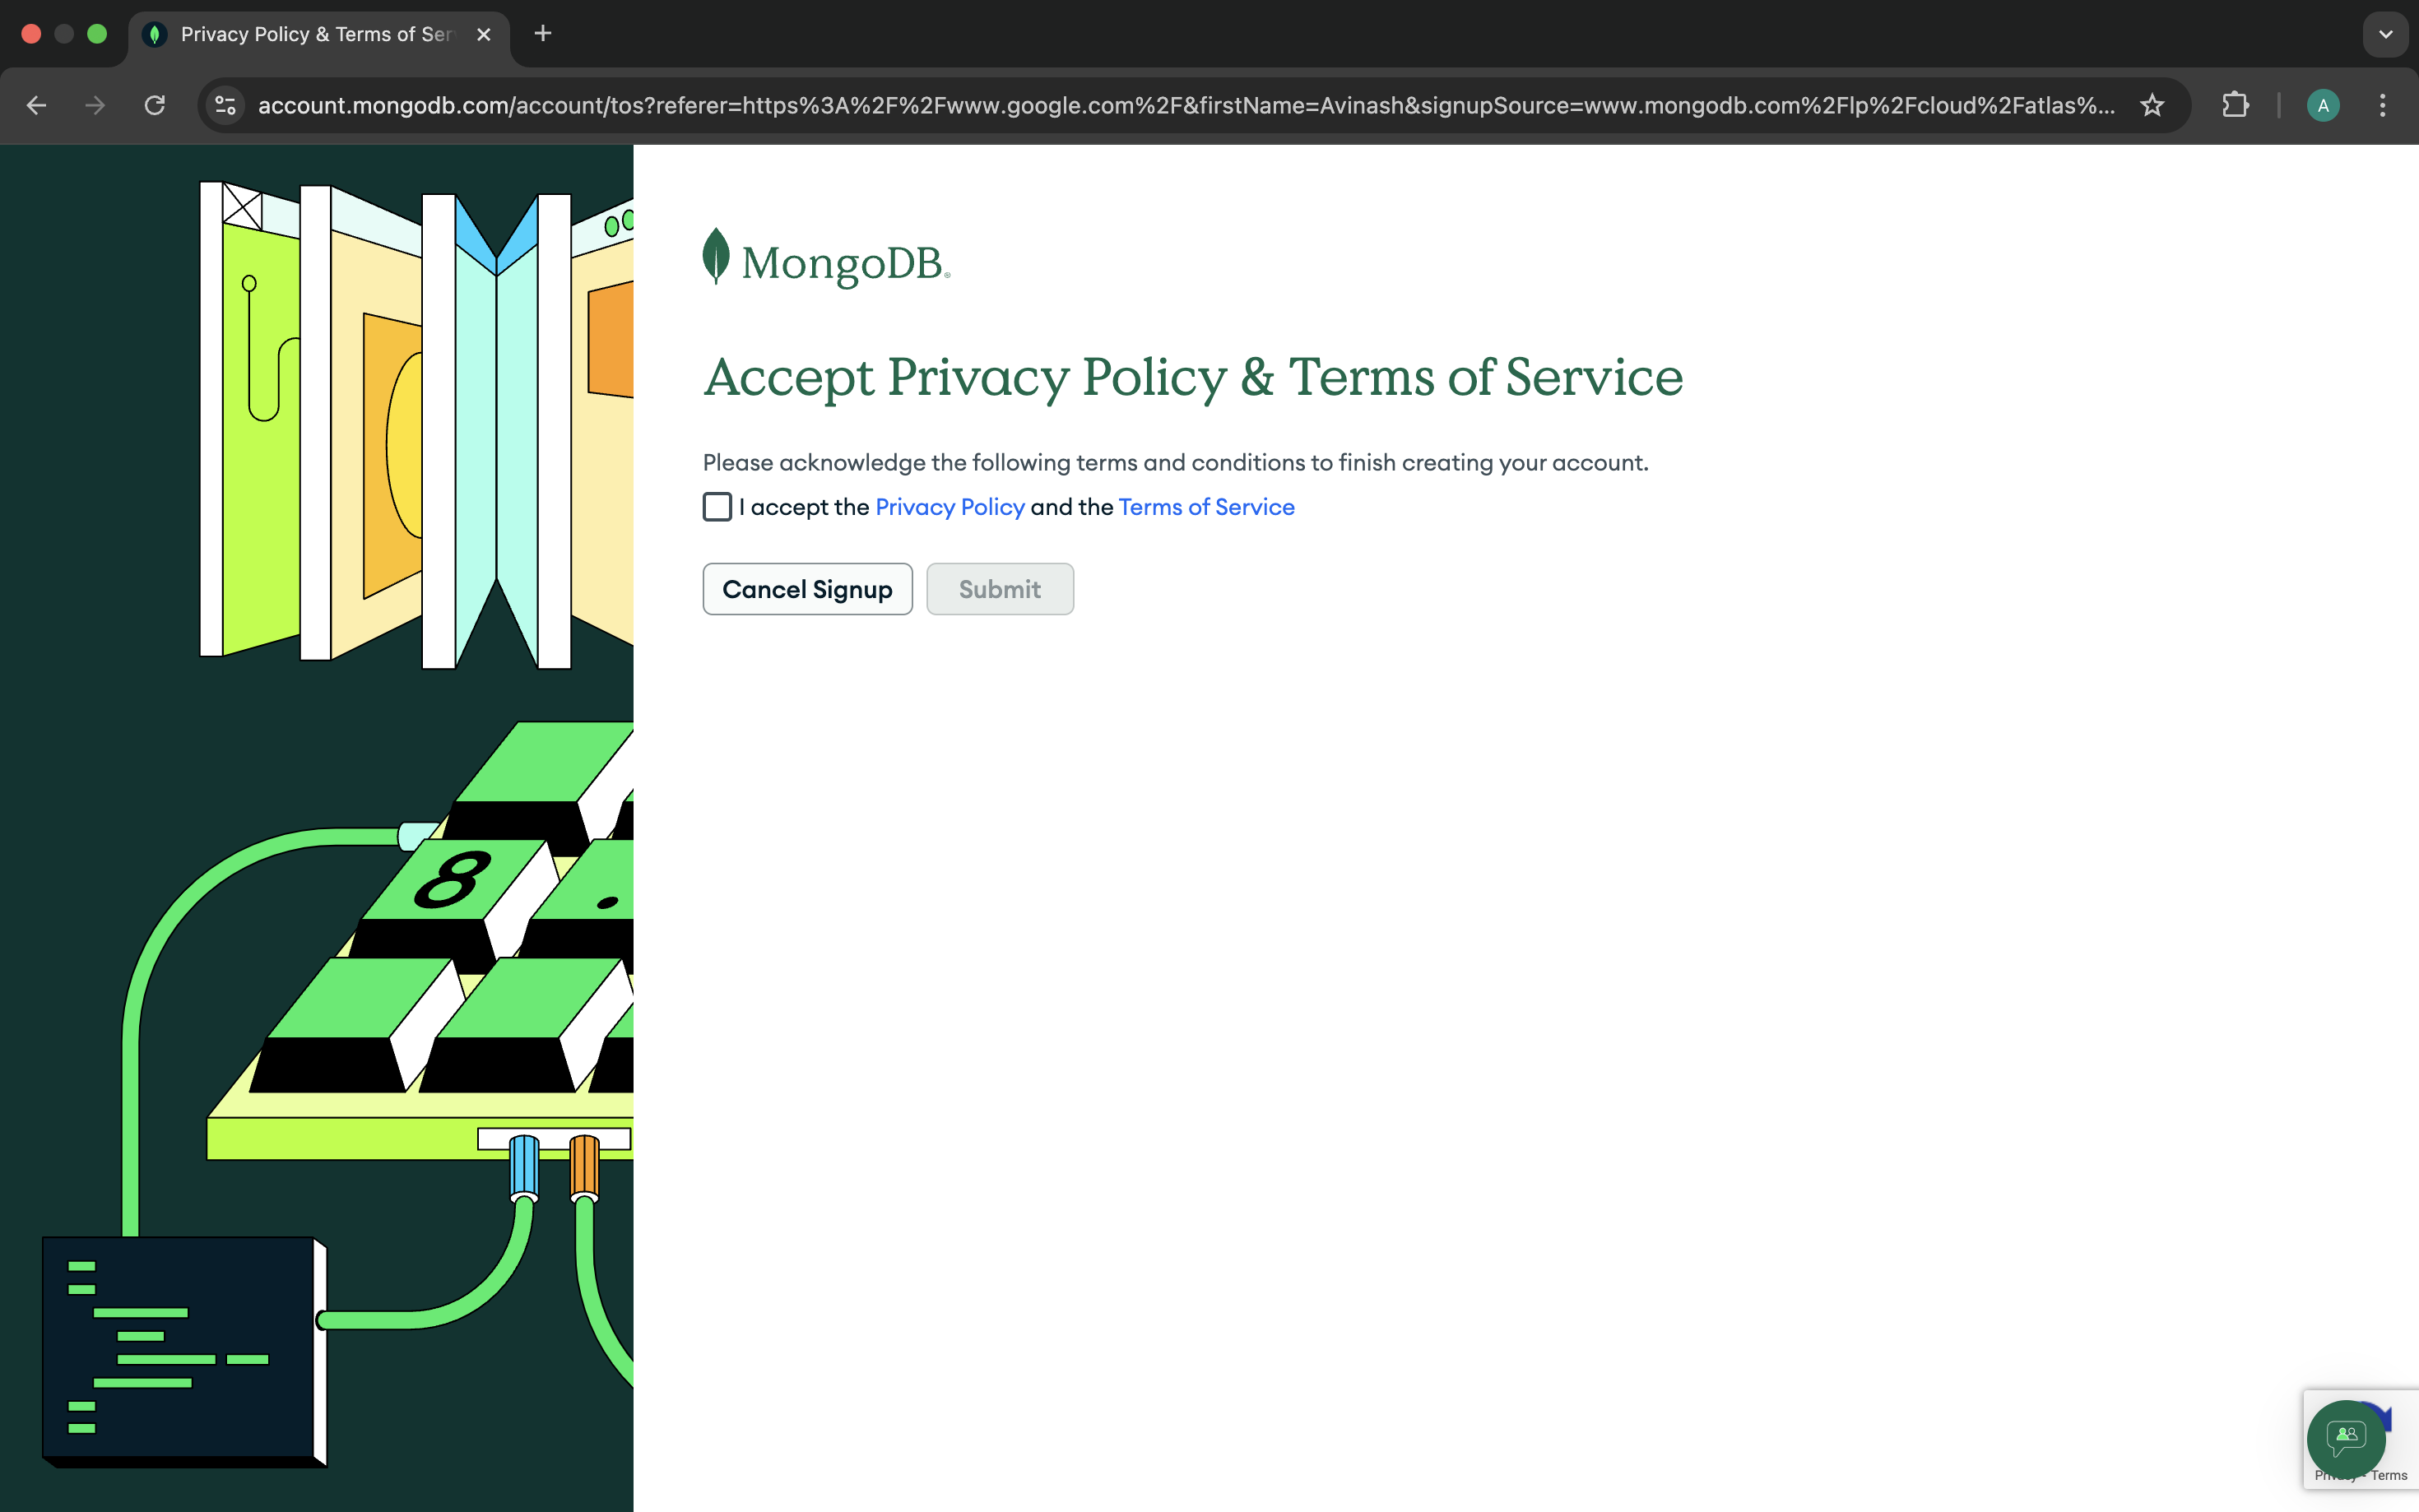
Step 2: Accept the terms and conditions

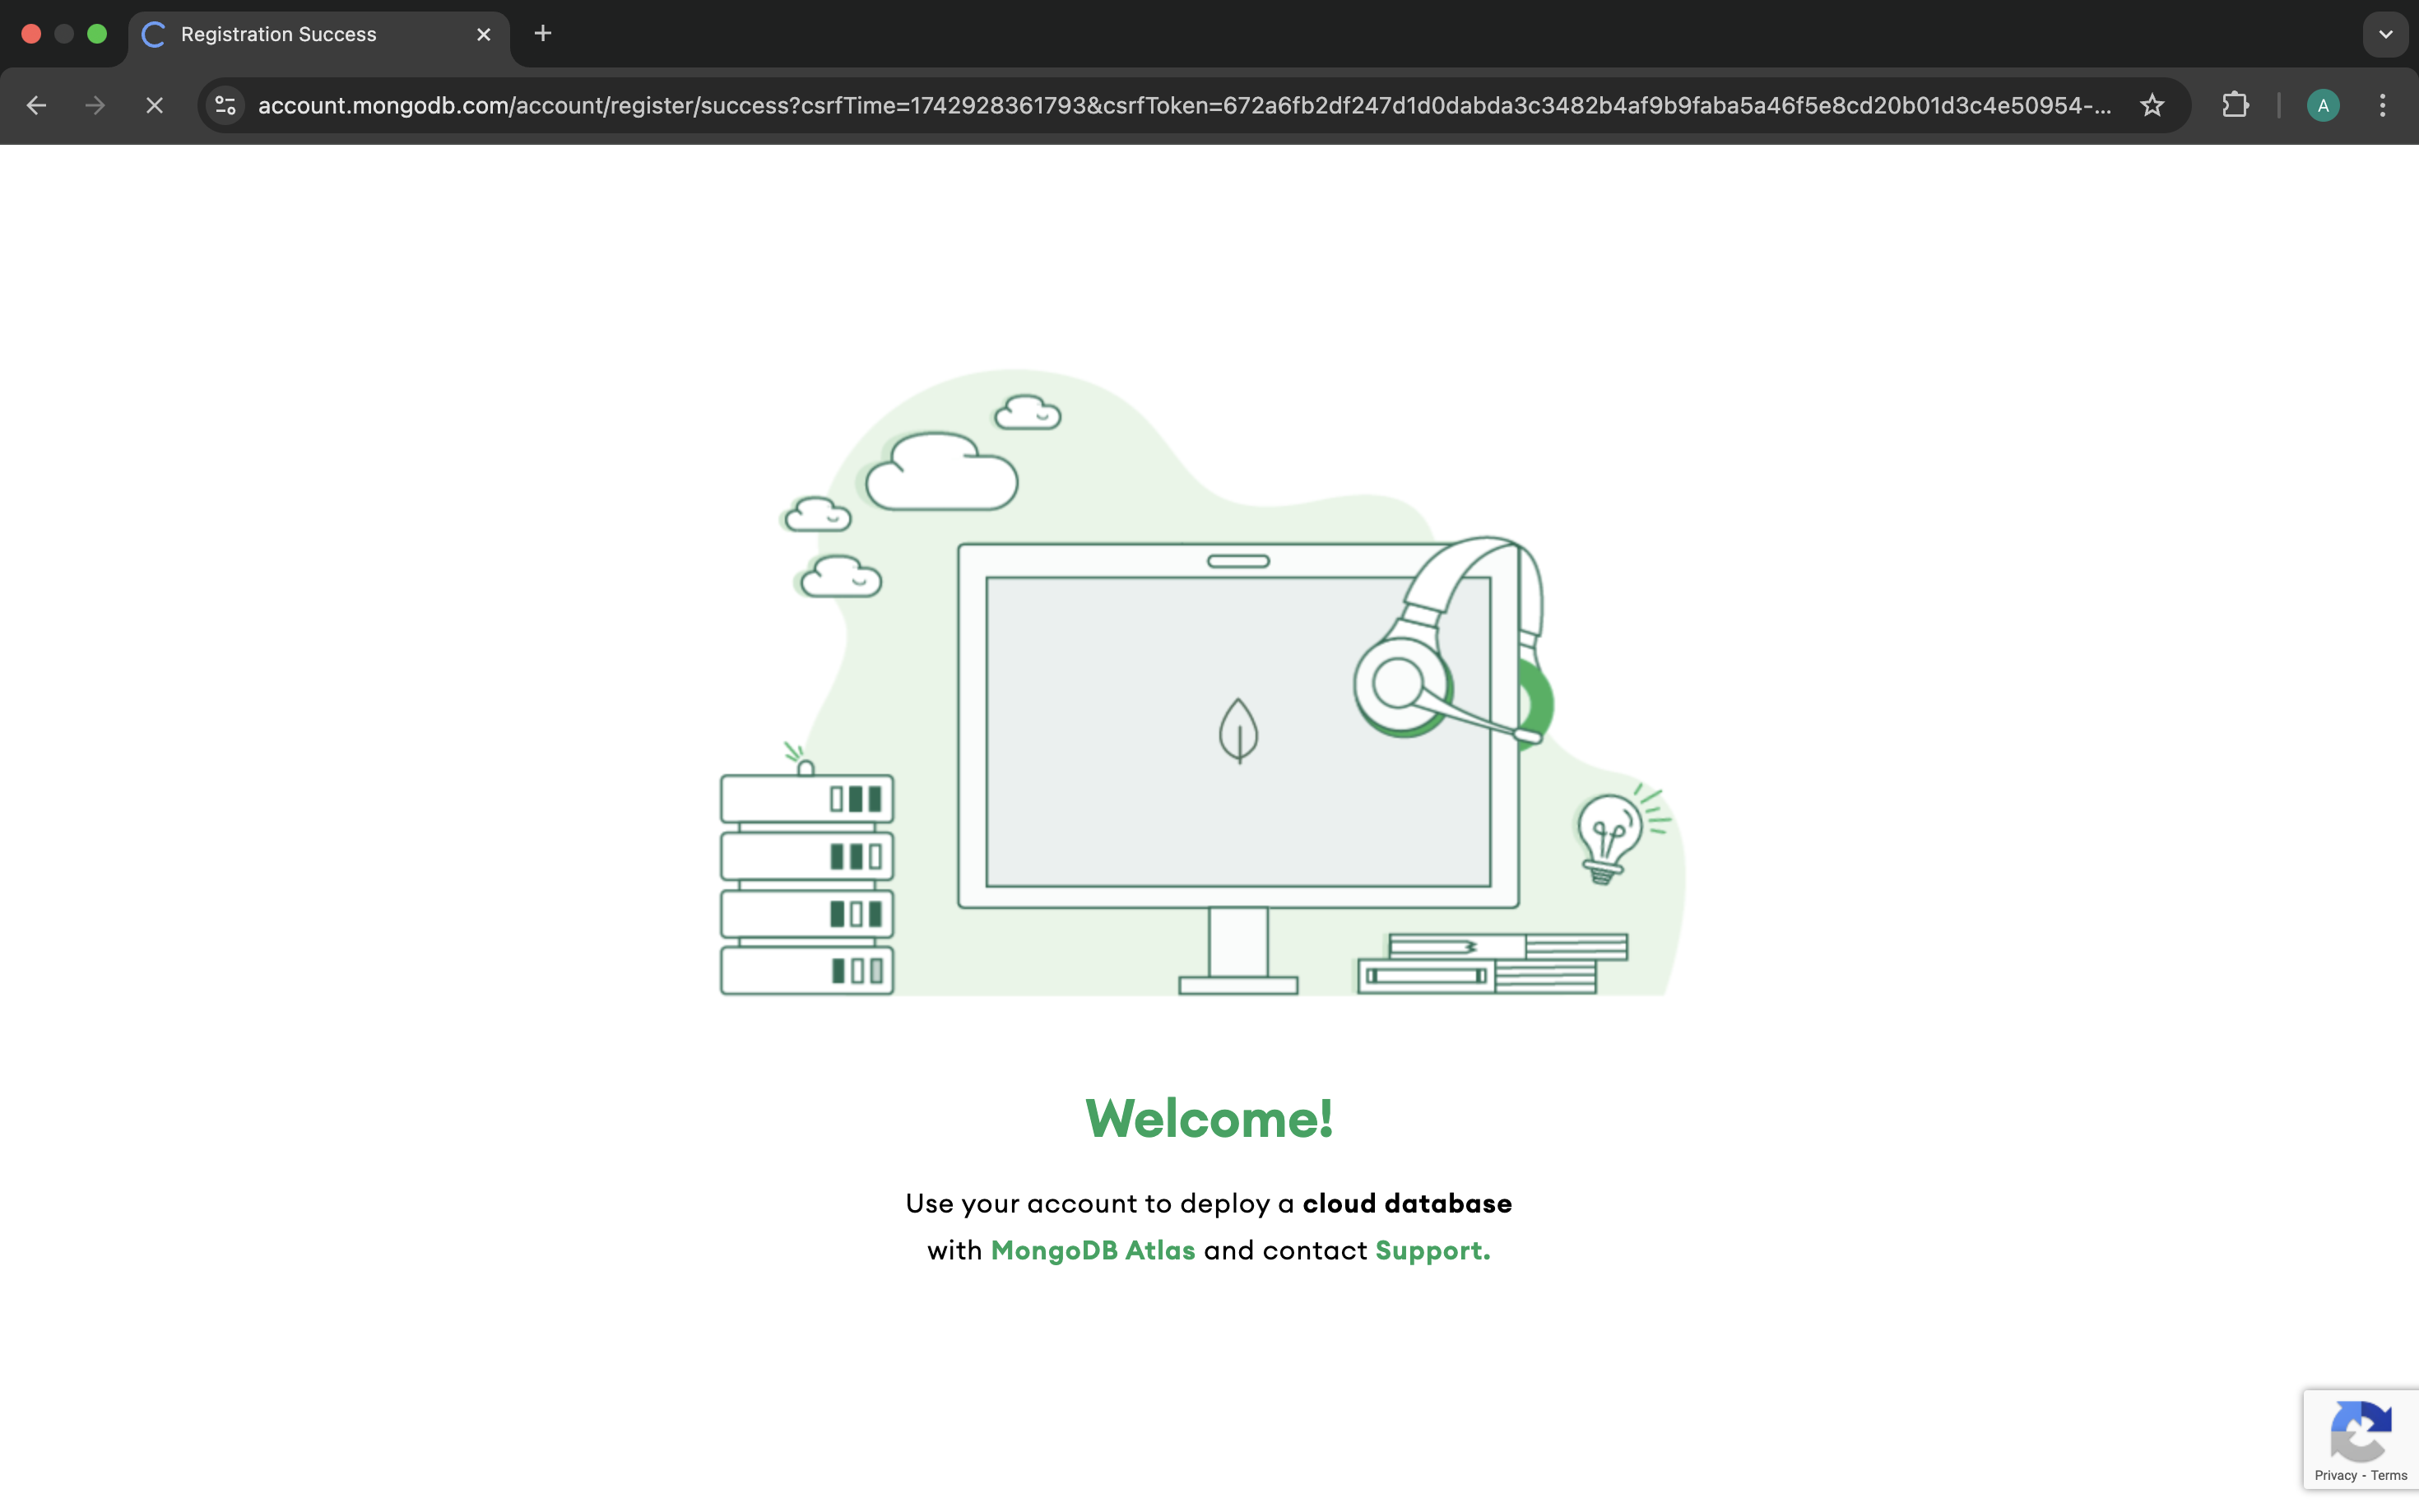
Step 3: Let the MongoDB Atlas create the cluster
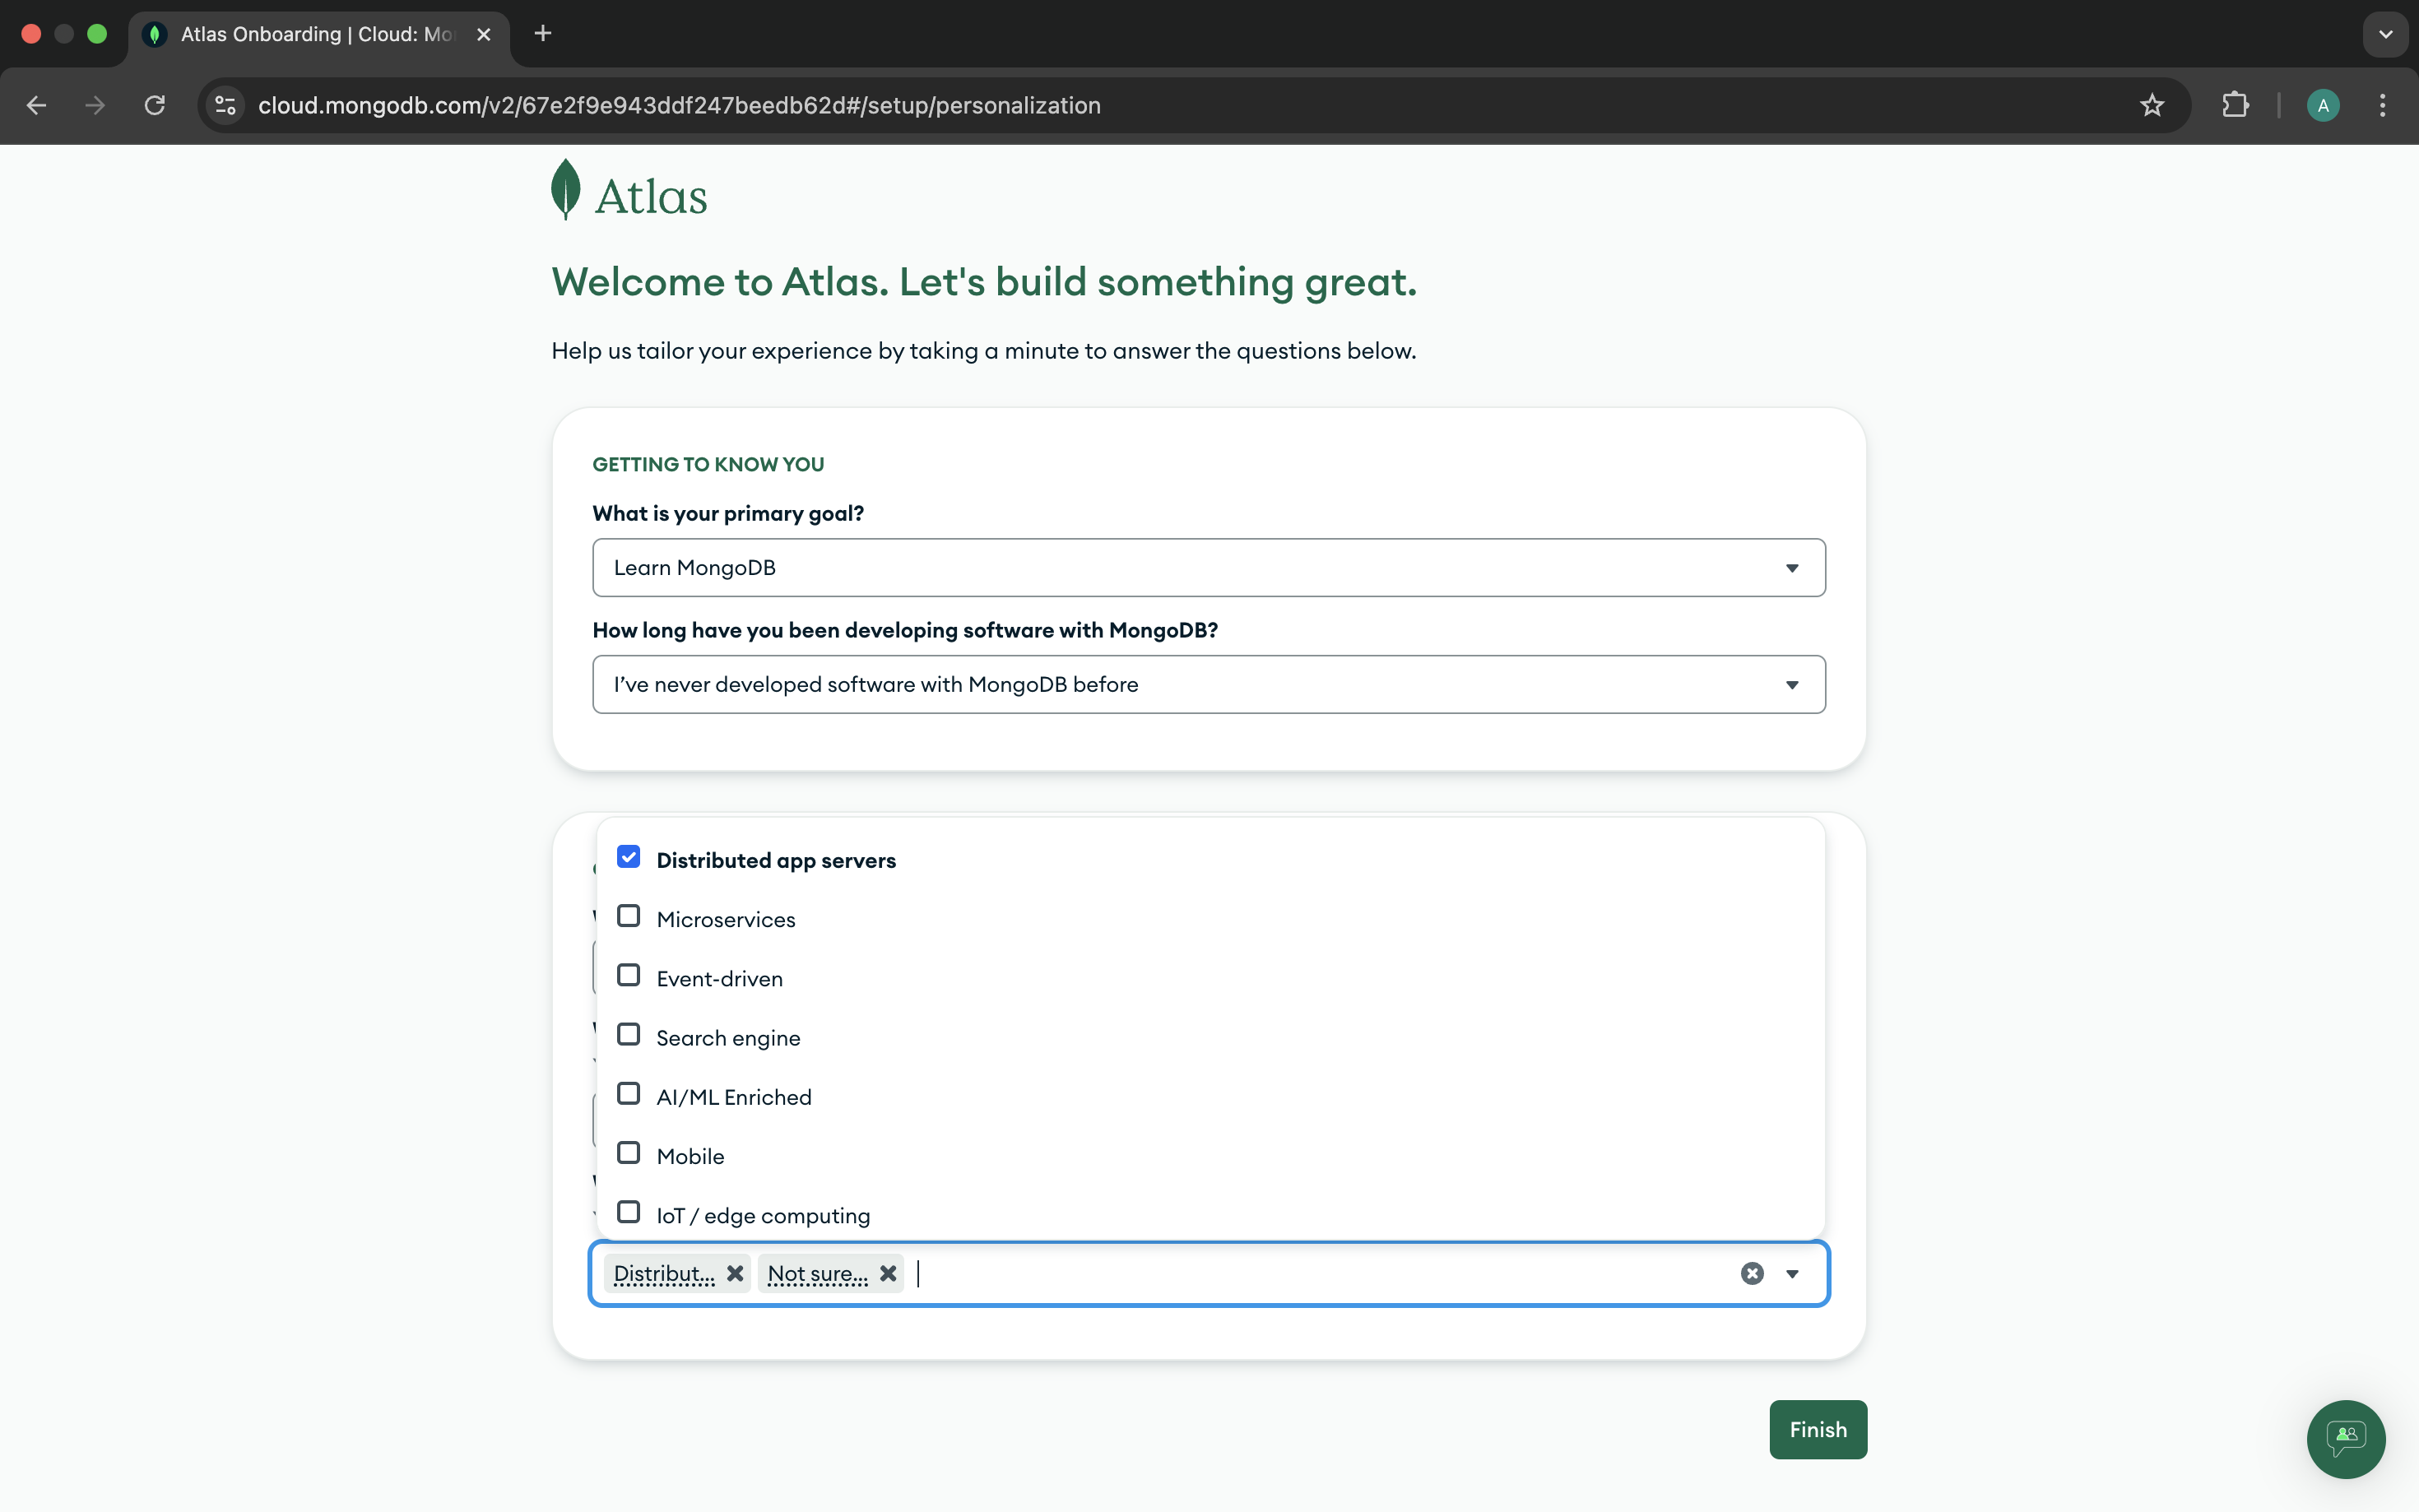
Step 4: Fill the details to proceed to create the cluster

Step 5: You can select anything to fill the details
Step 6: This is the selection of the cloud cluster
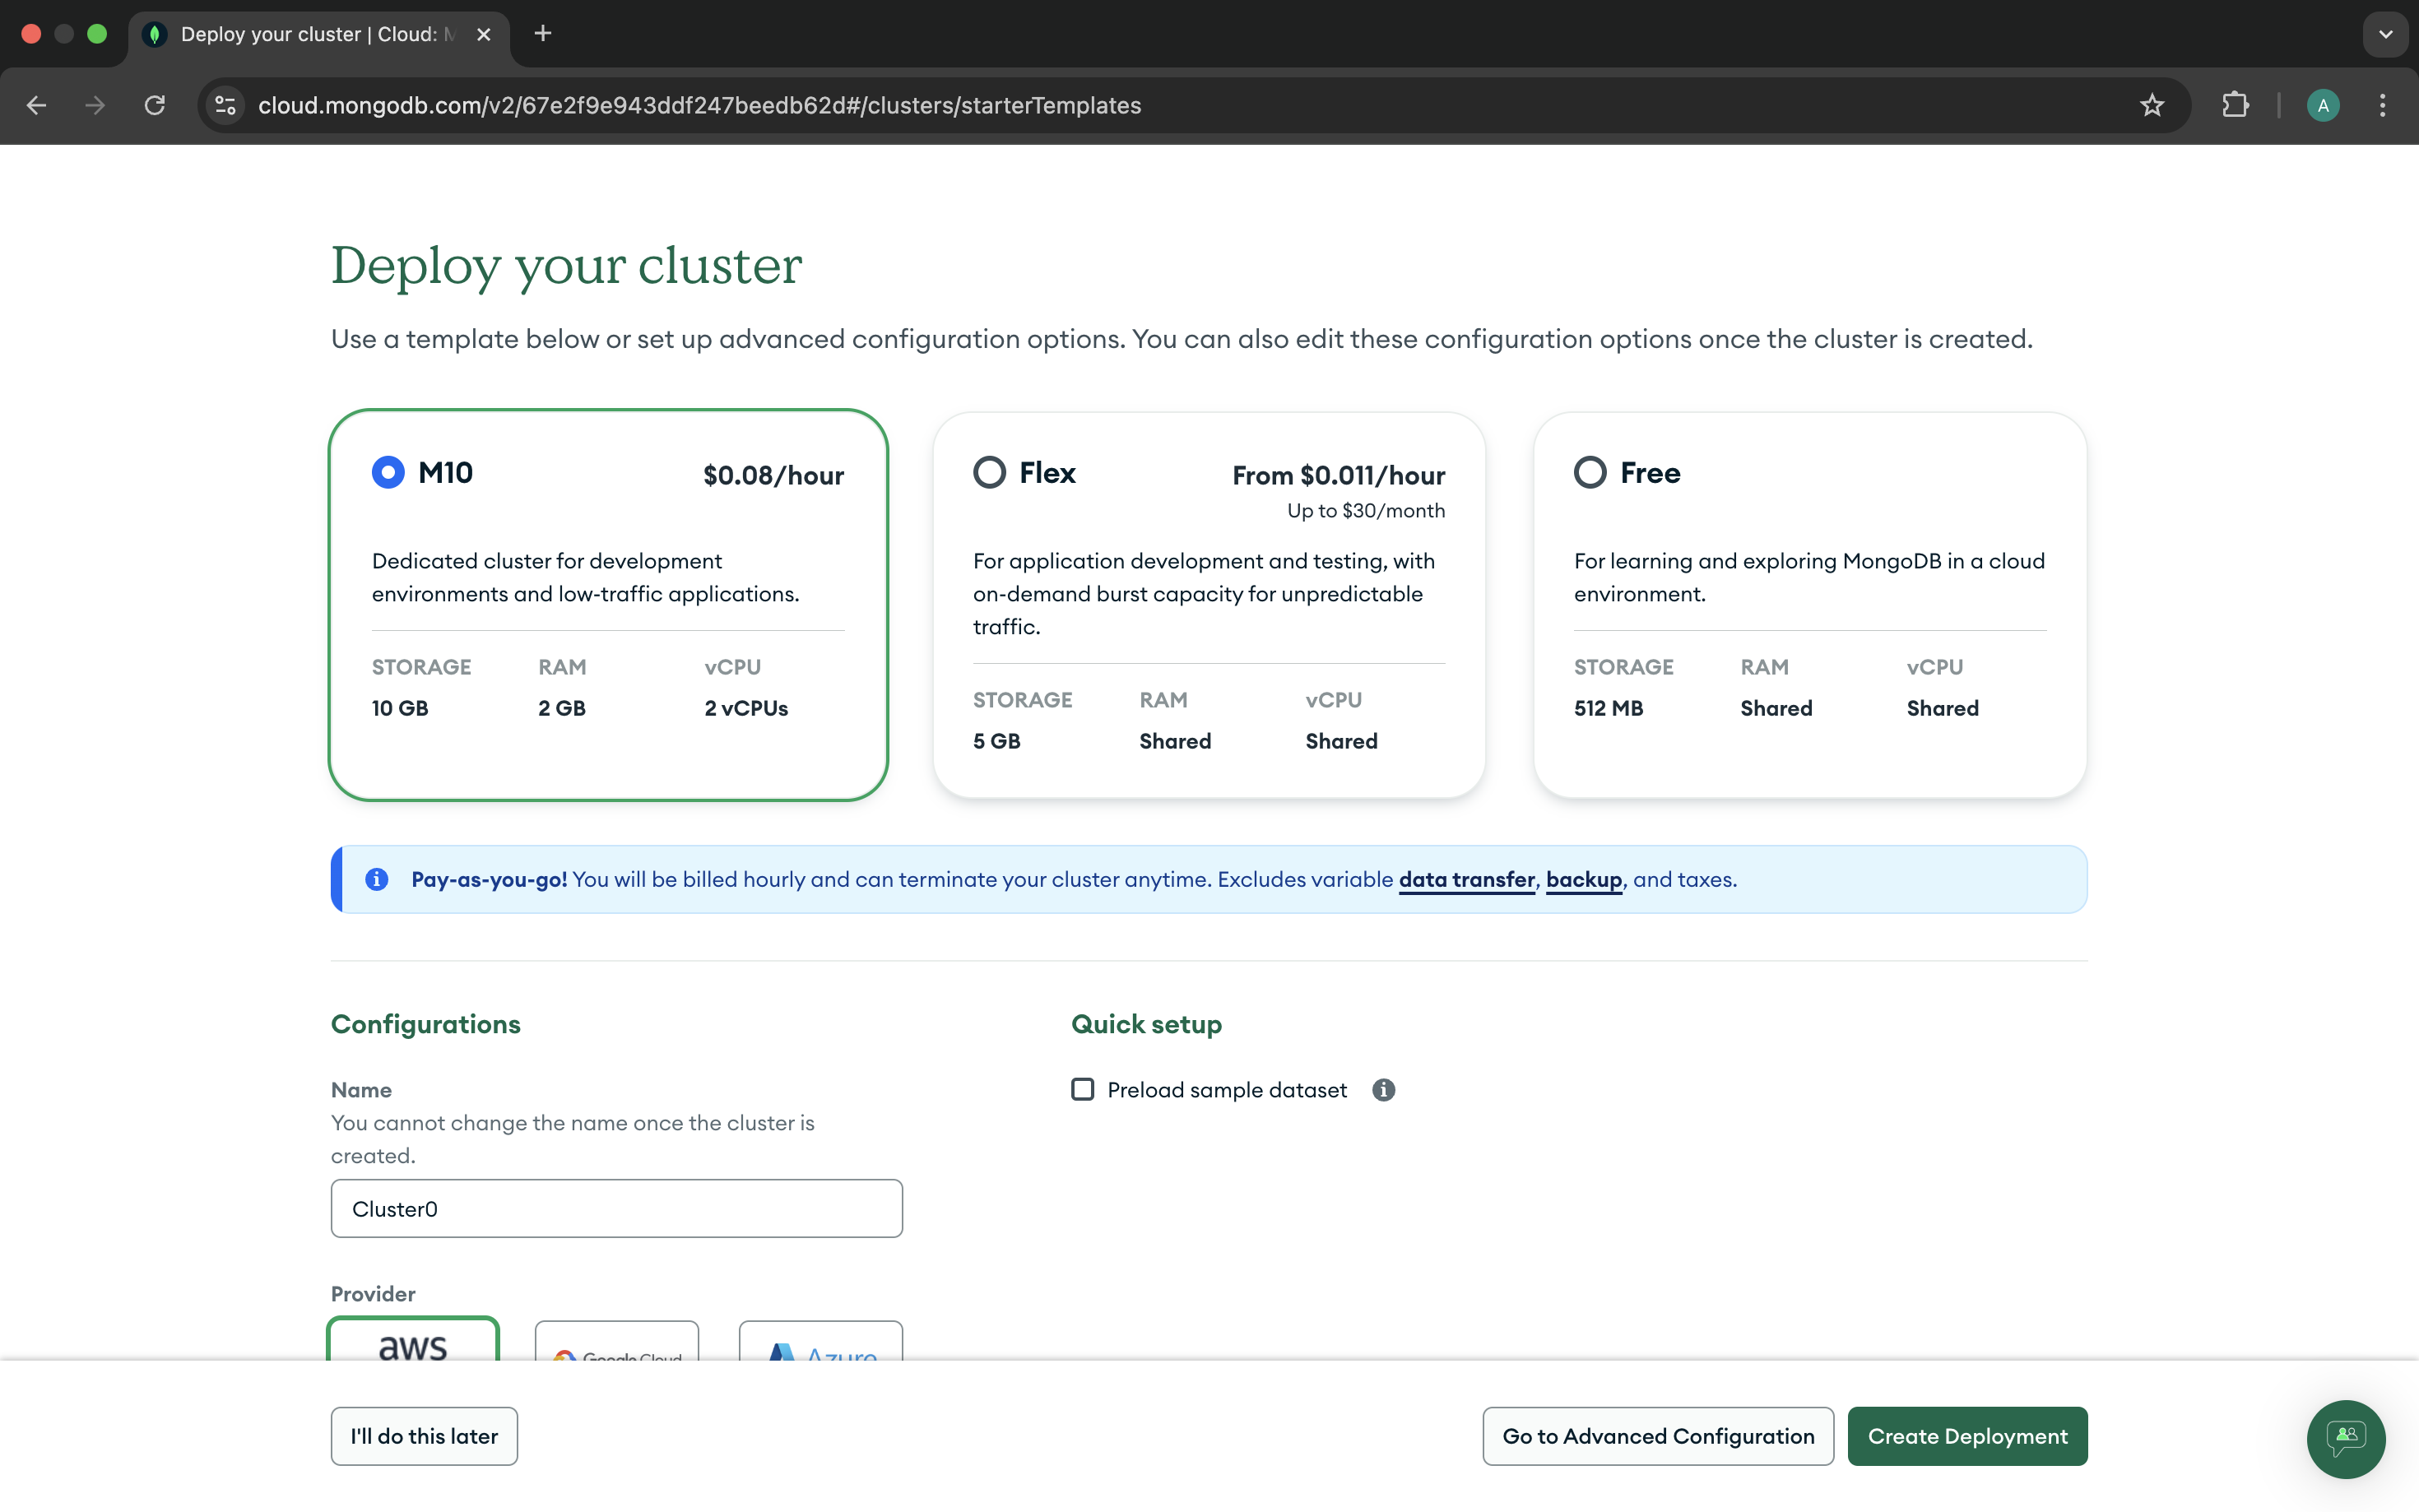
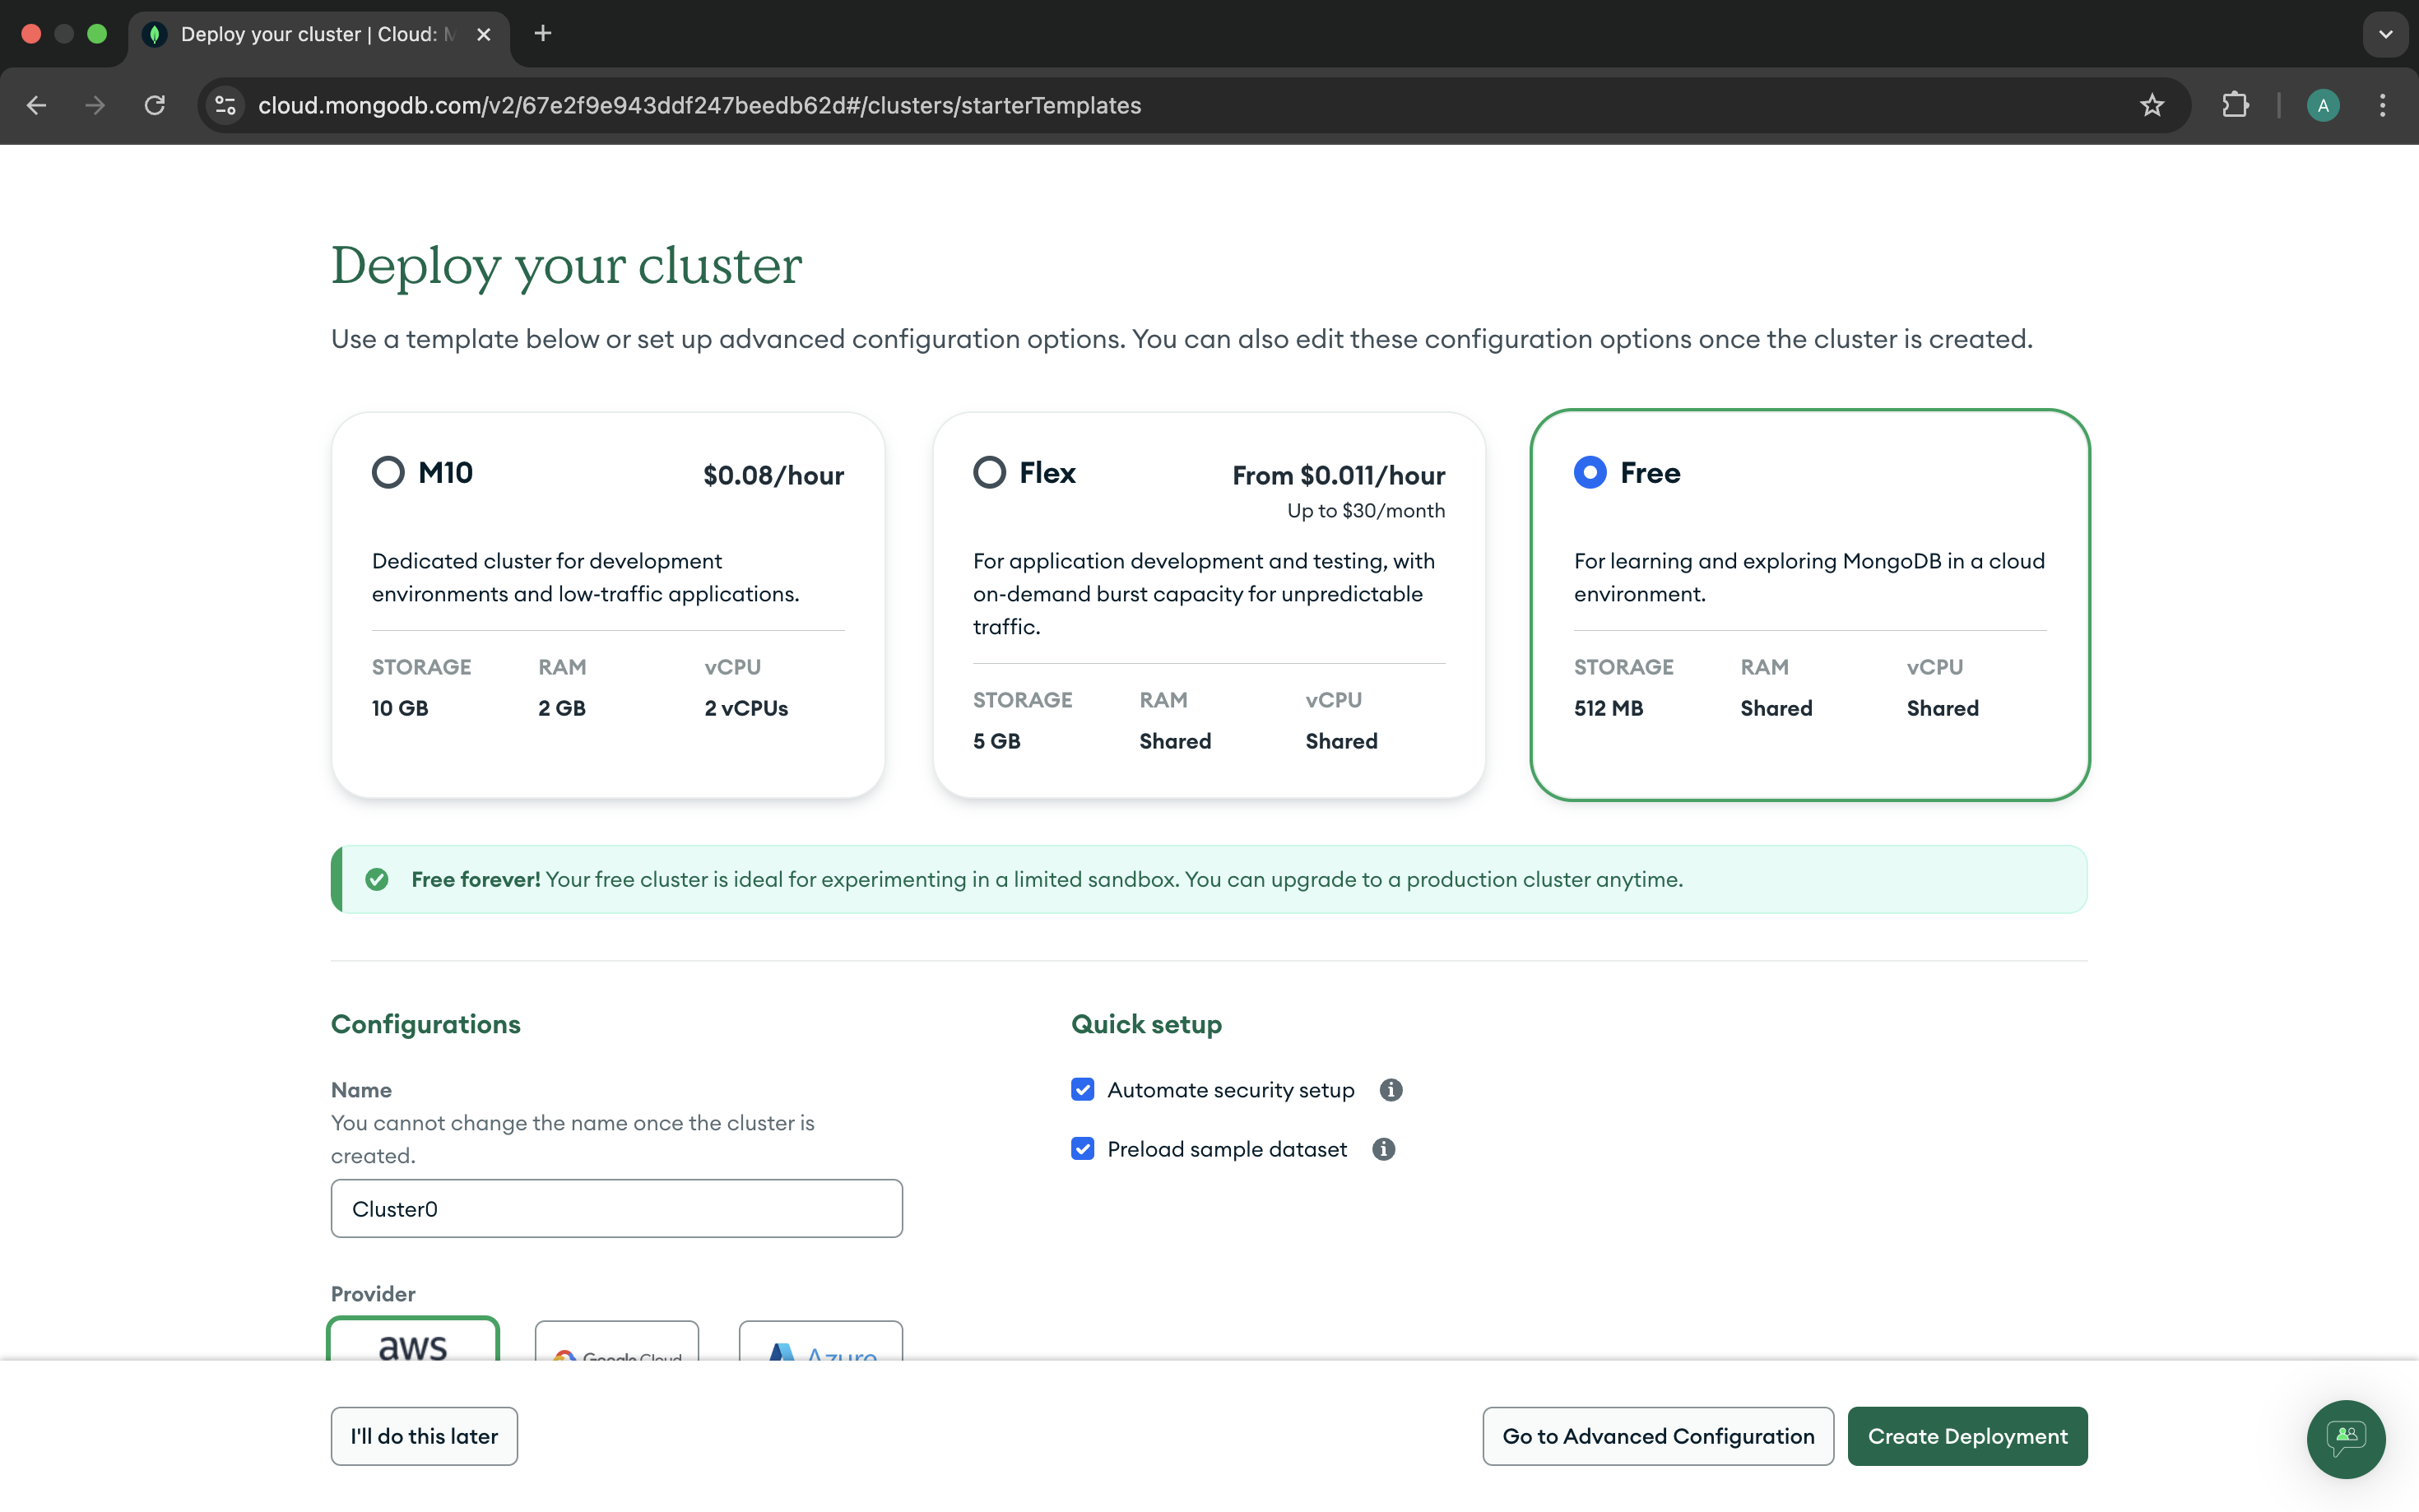
Step 7: Select the Free Tier and click on the Create Deployment button
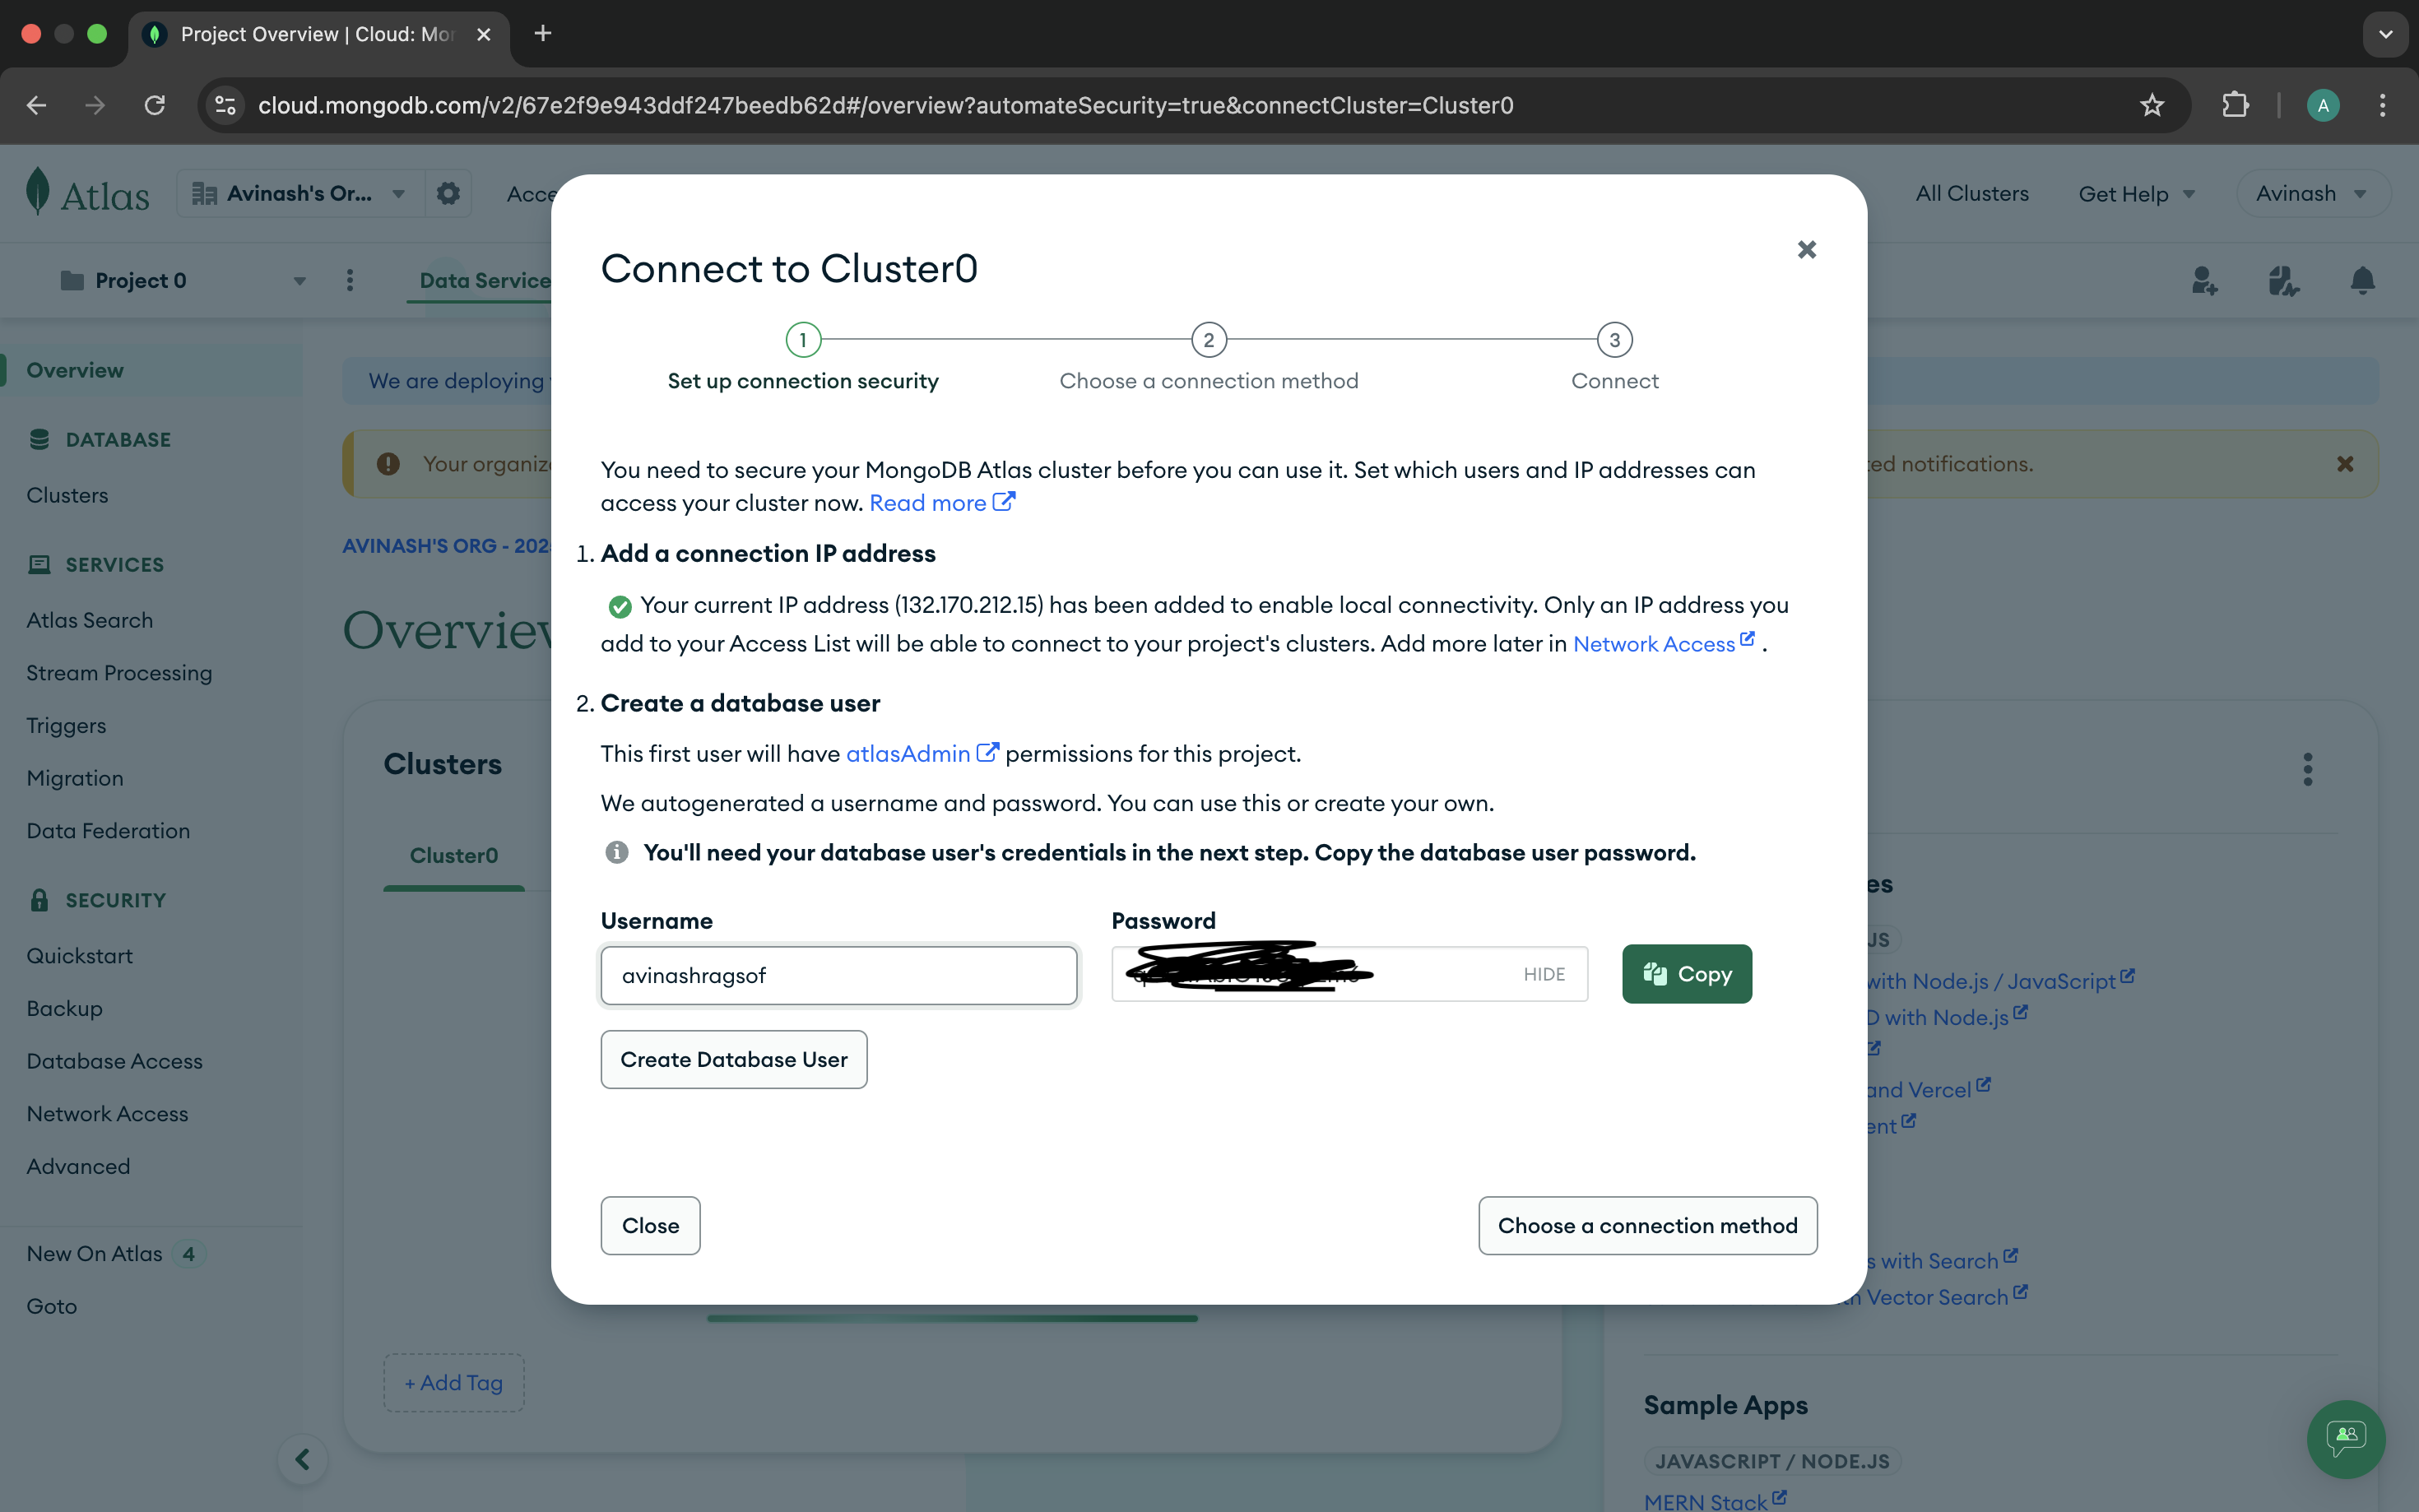
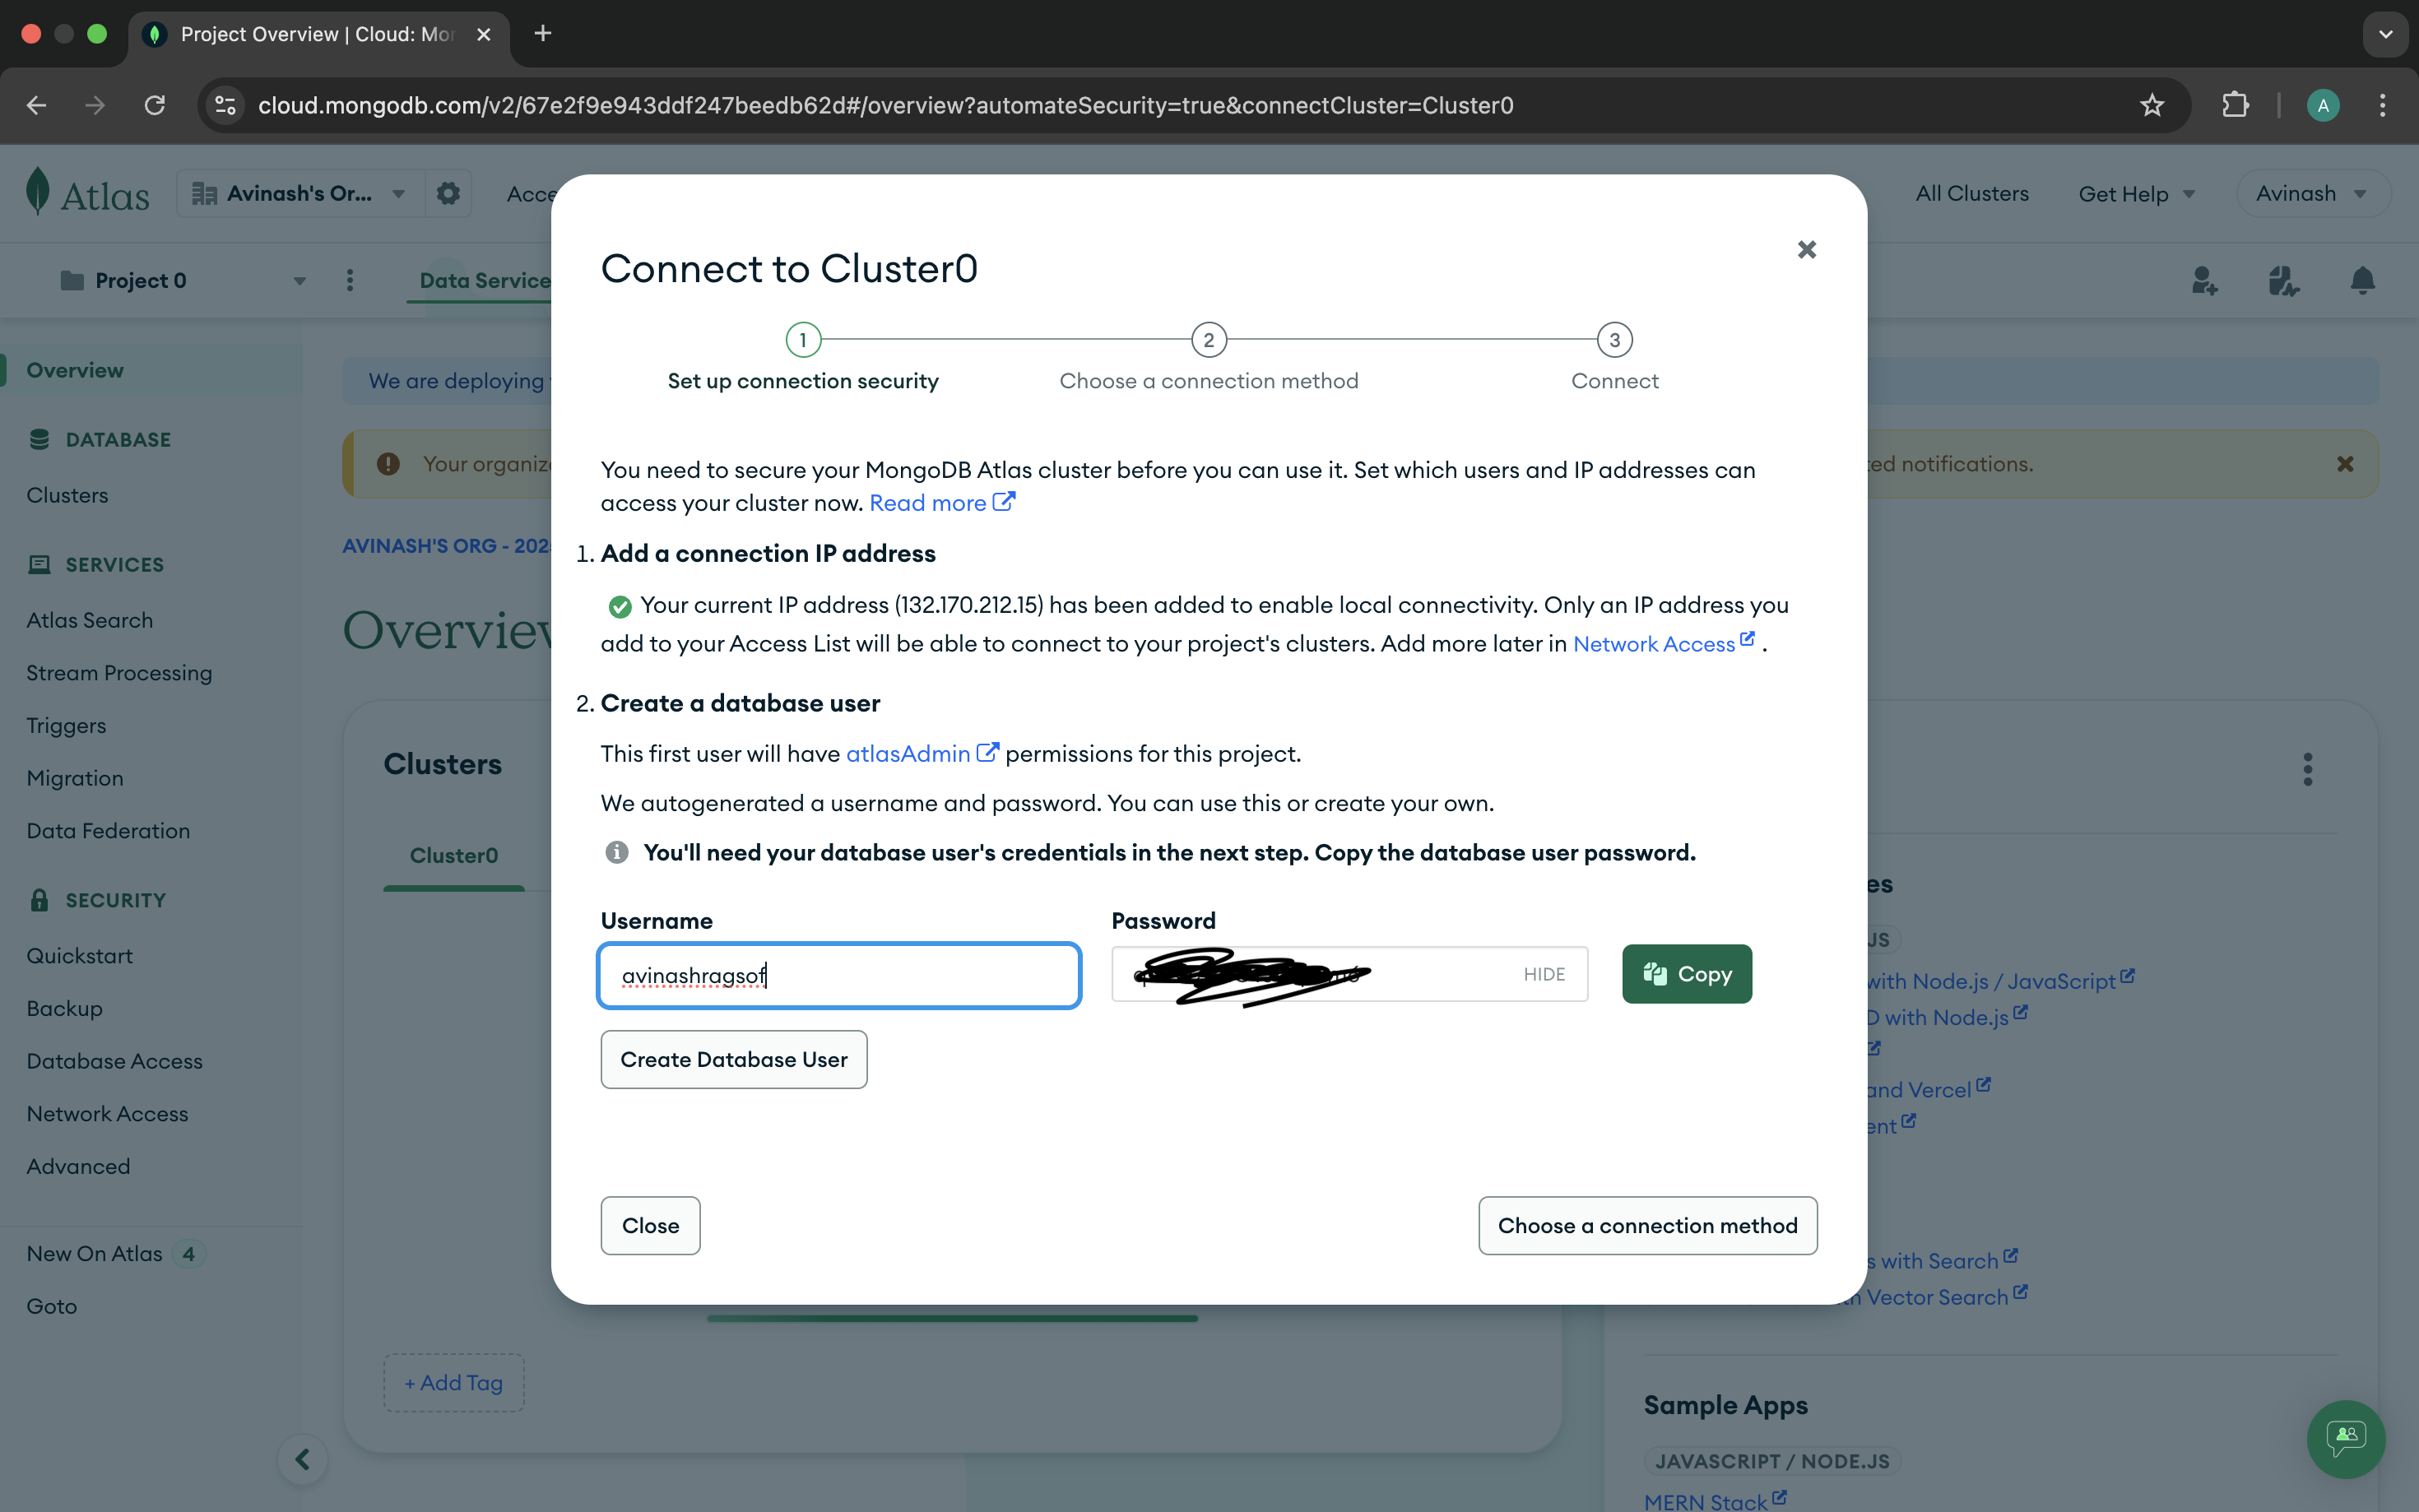
Step 8: Create a new database user, and password, makesure to save the credentials
Step 9: Your Cluster is being created, you can see the progress
Step 10: Your Cluster is being created, you can see the progress
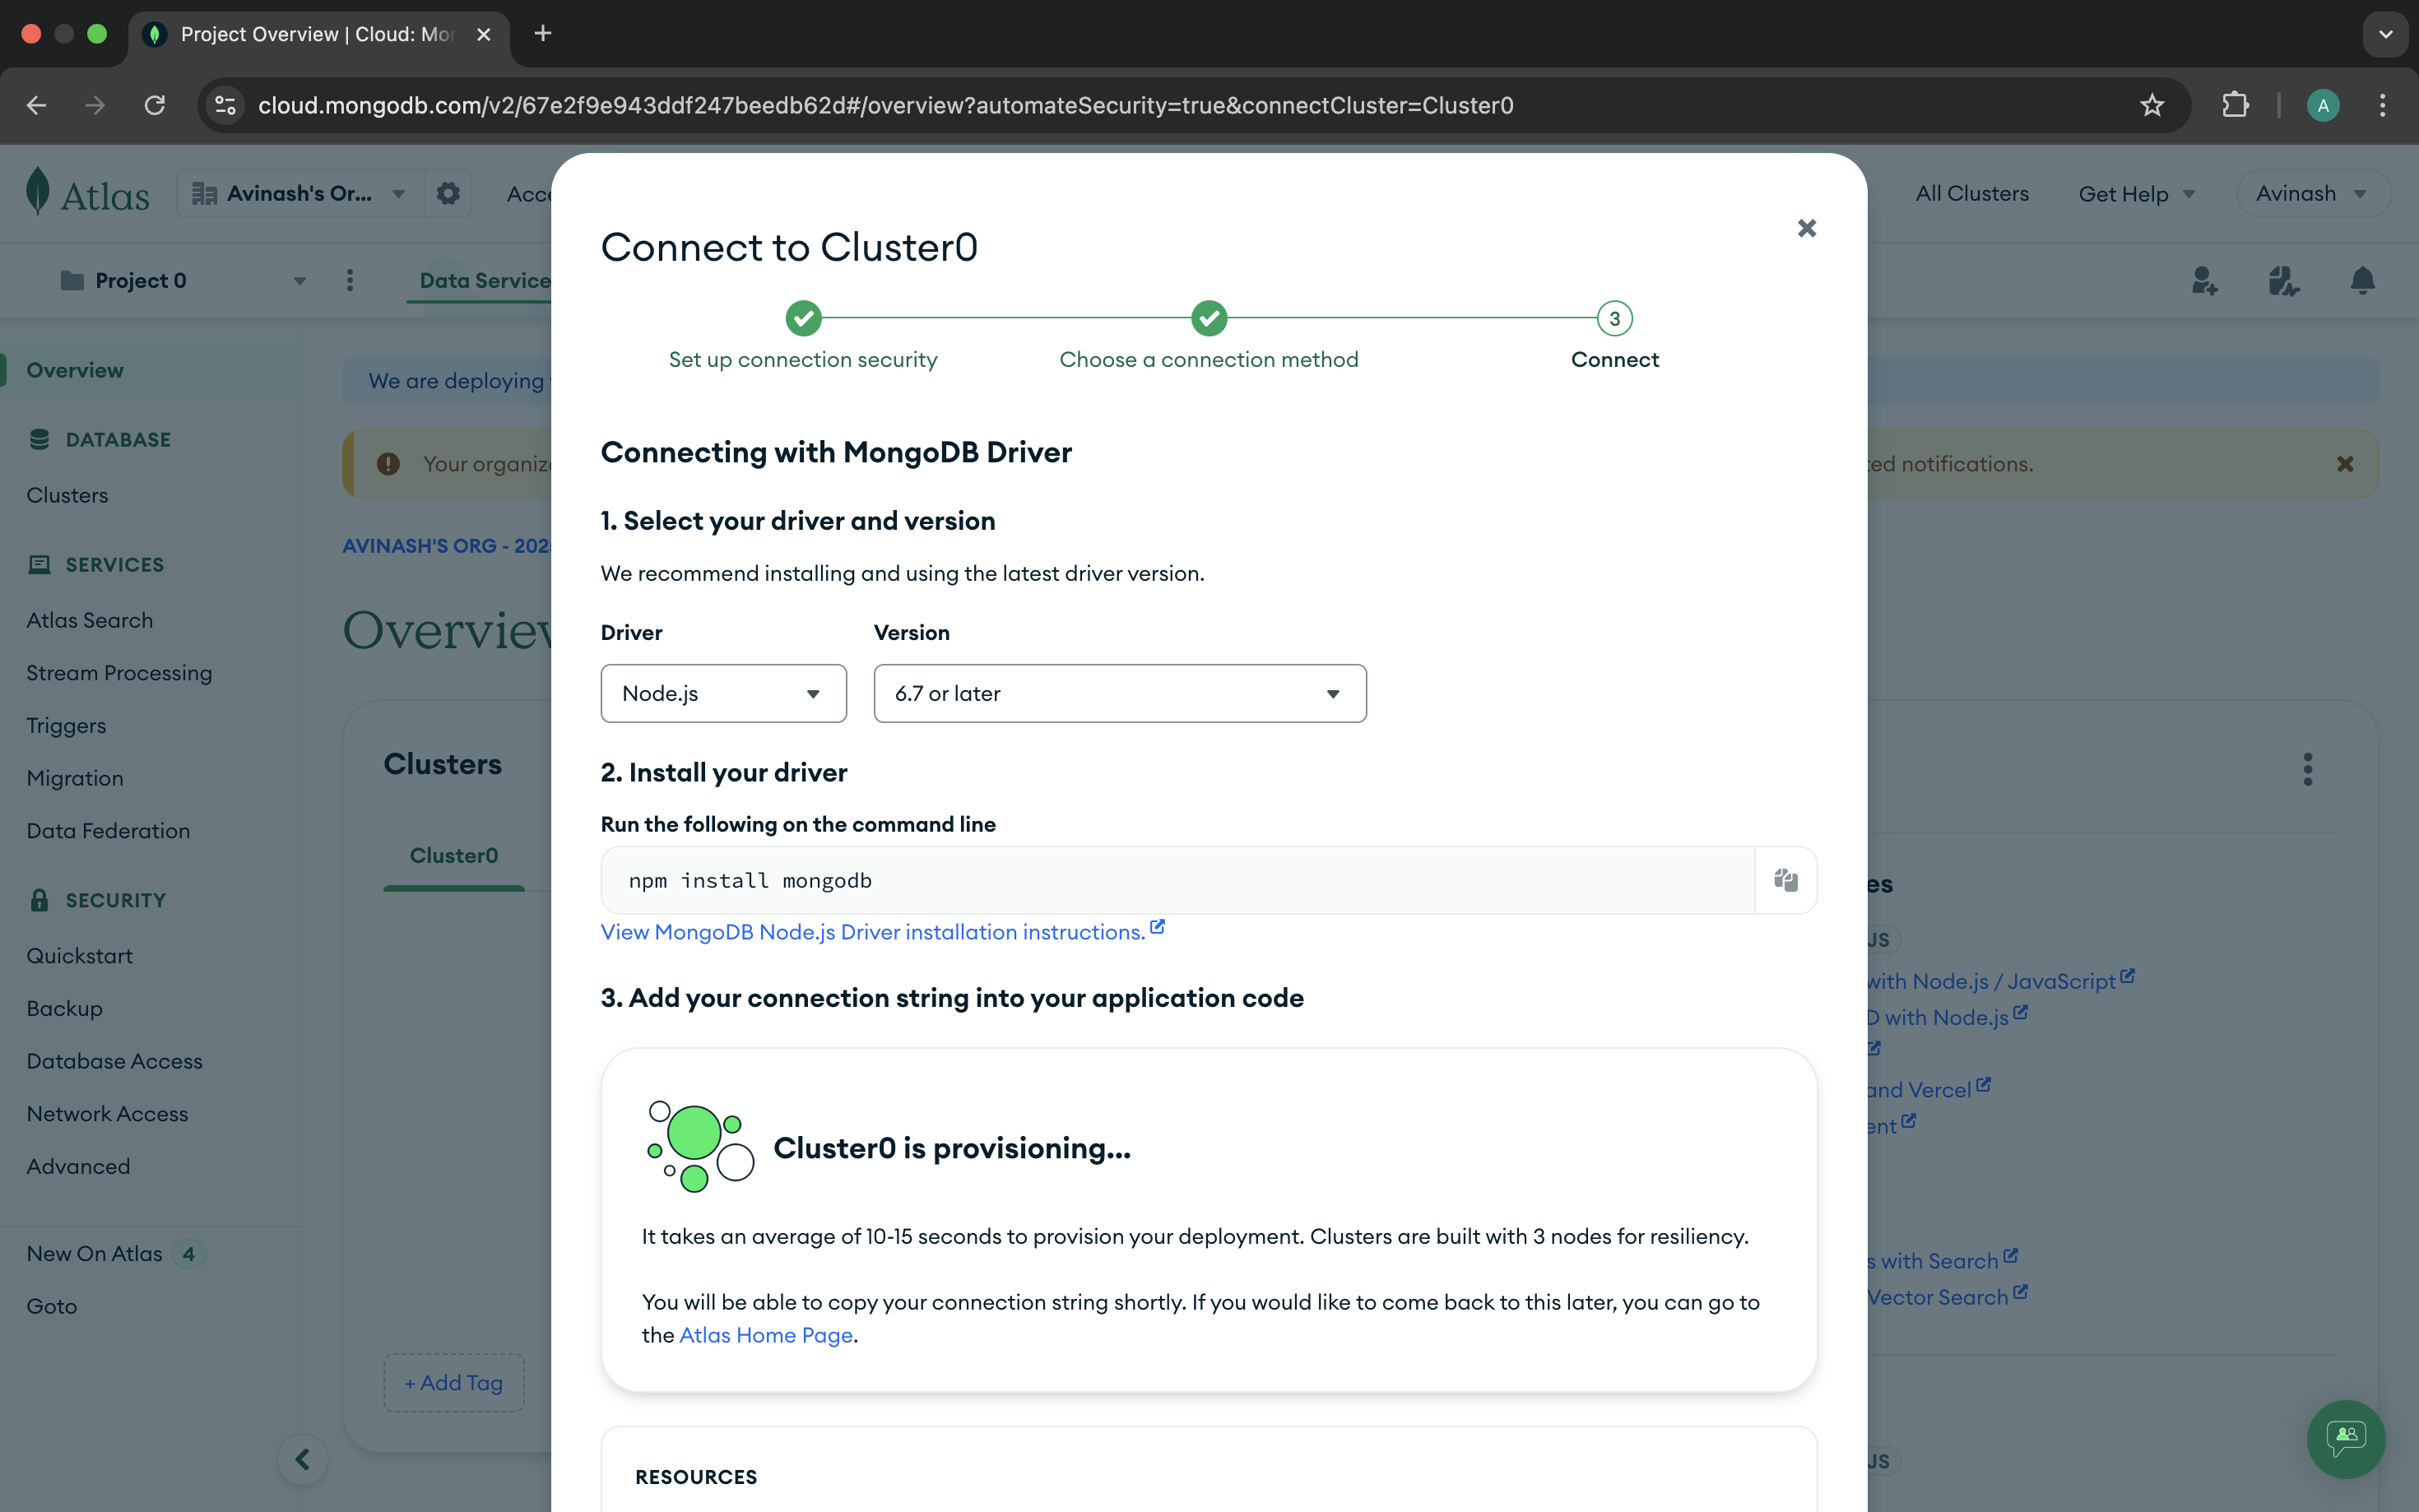
Step 10: Your Cluster is created and Click to Connect

Step 11: Click on the Connect your application button
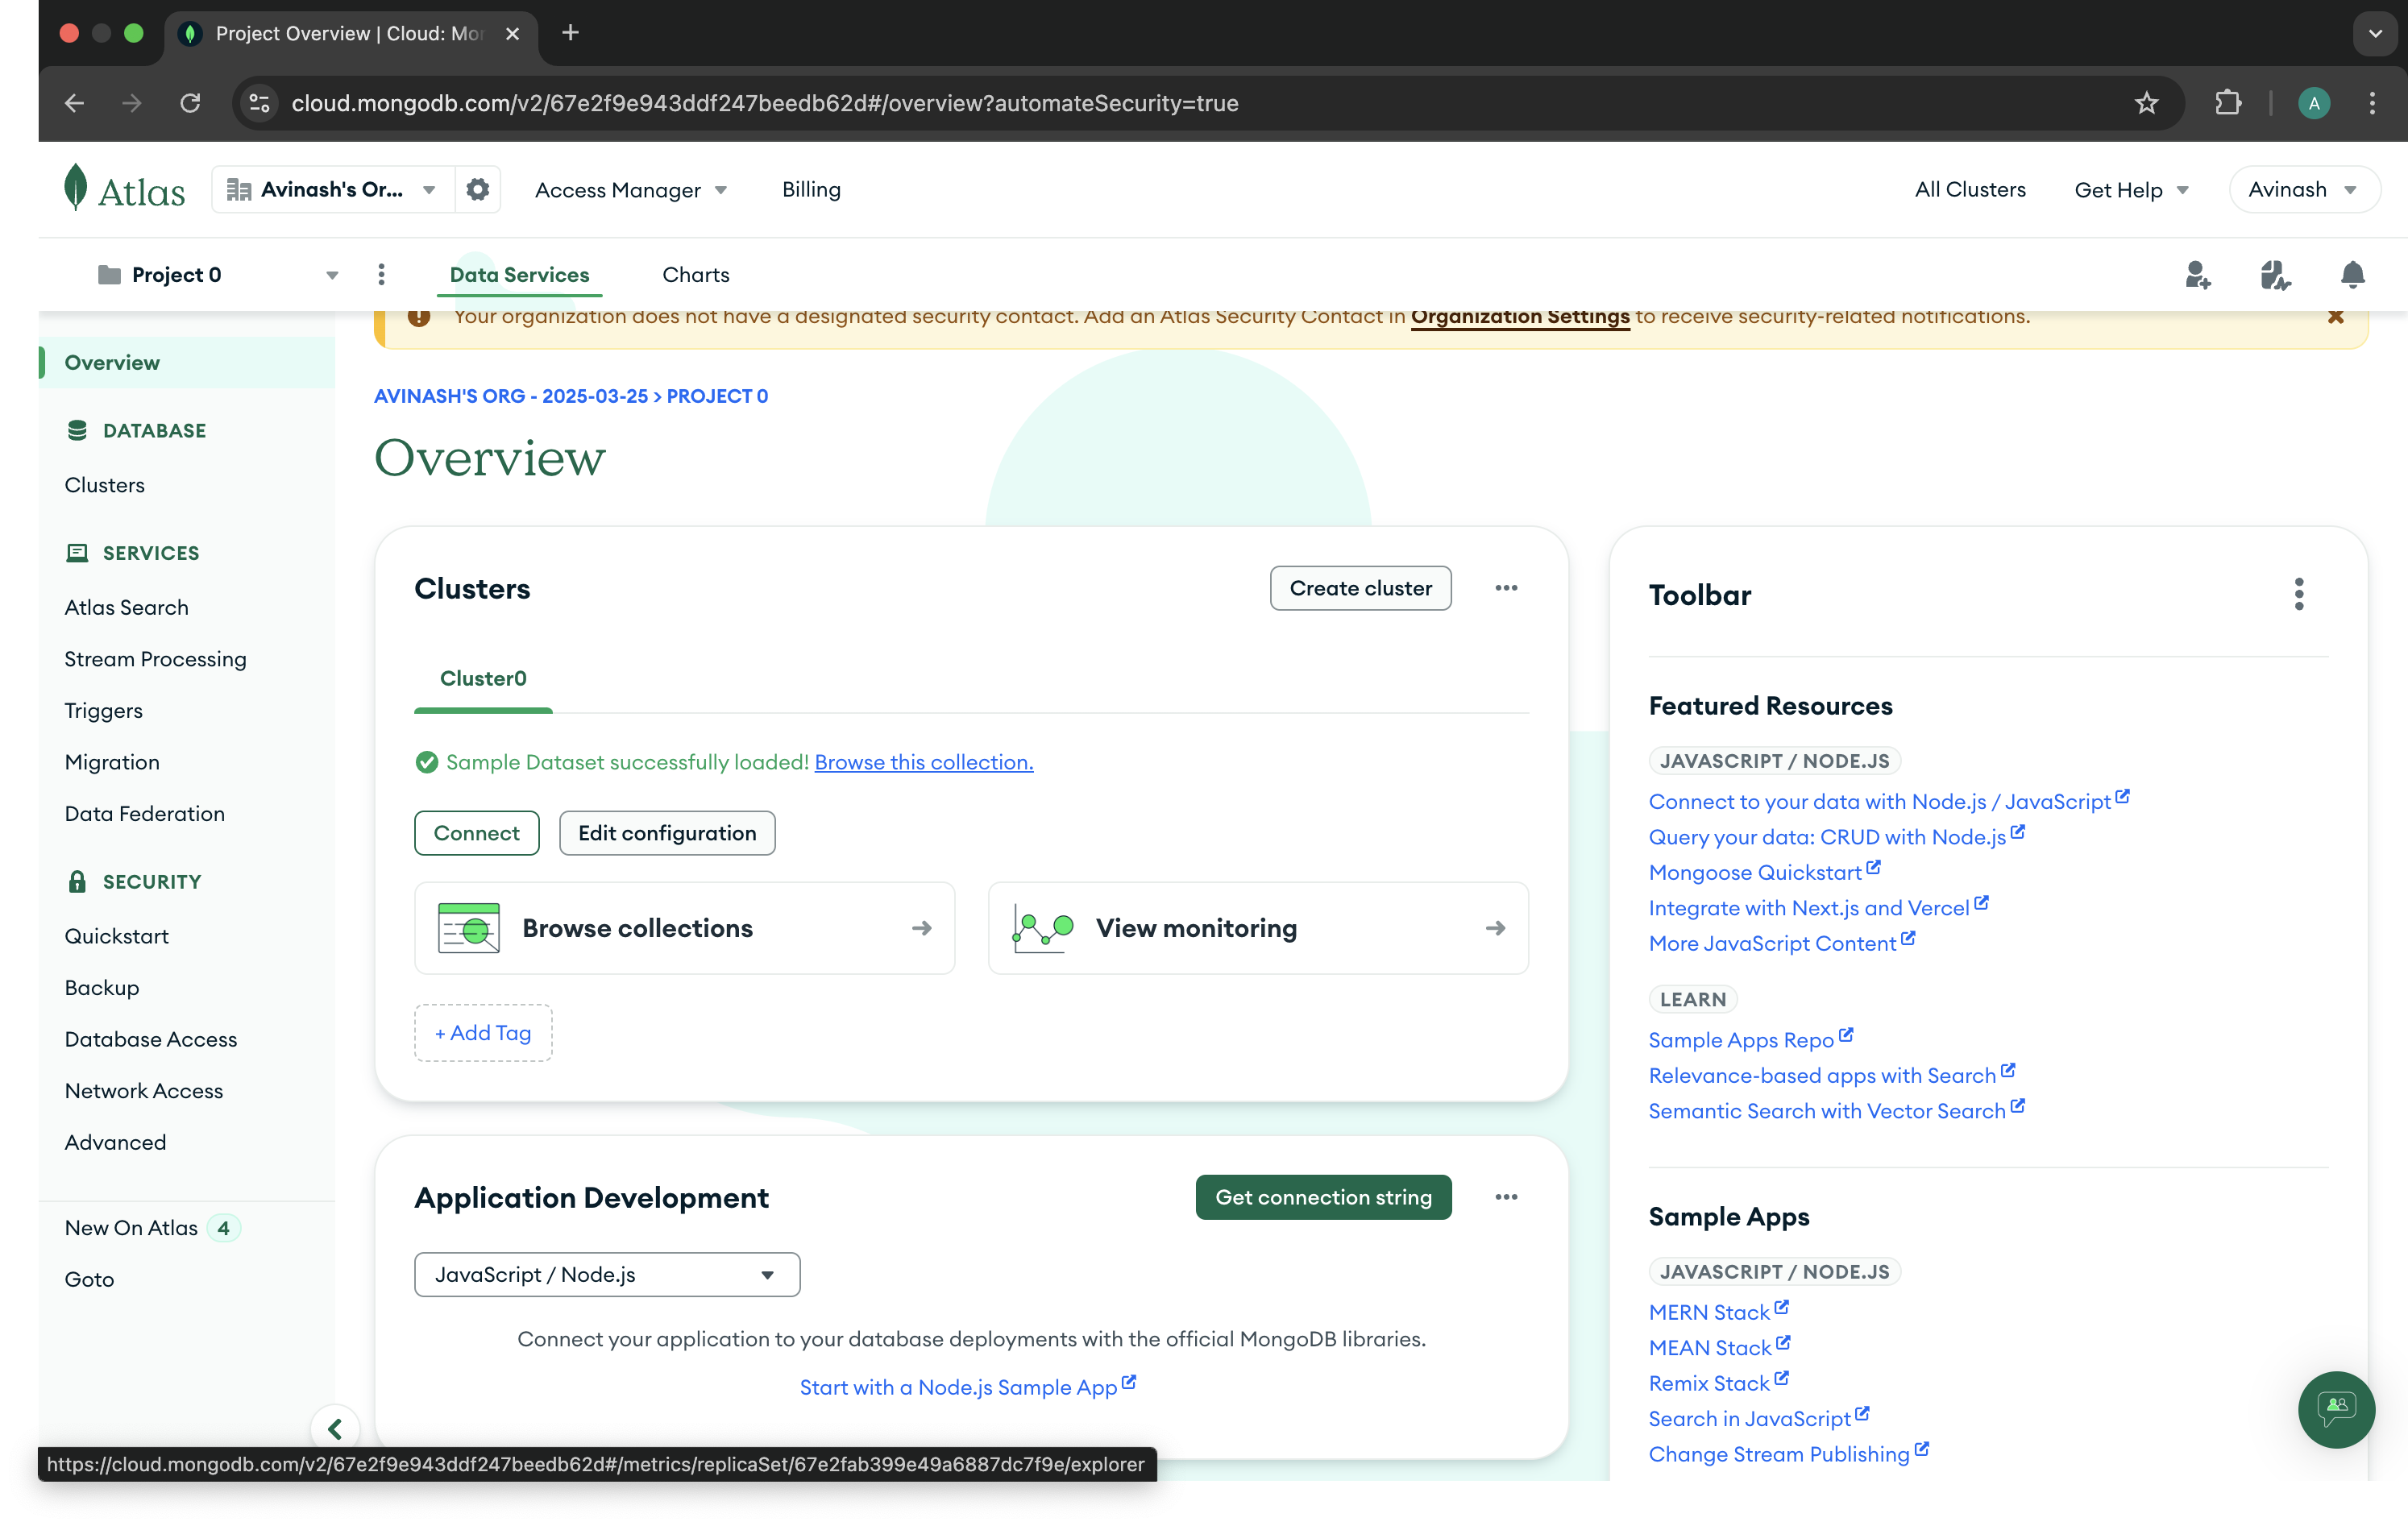
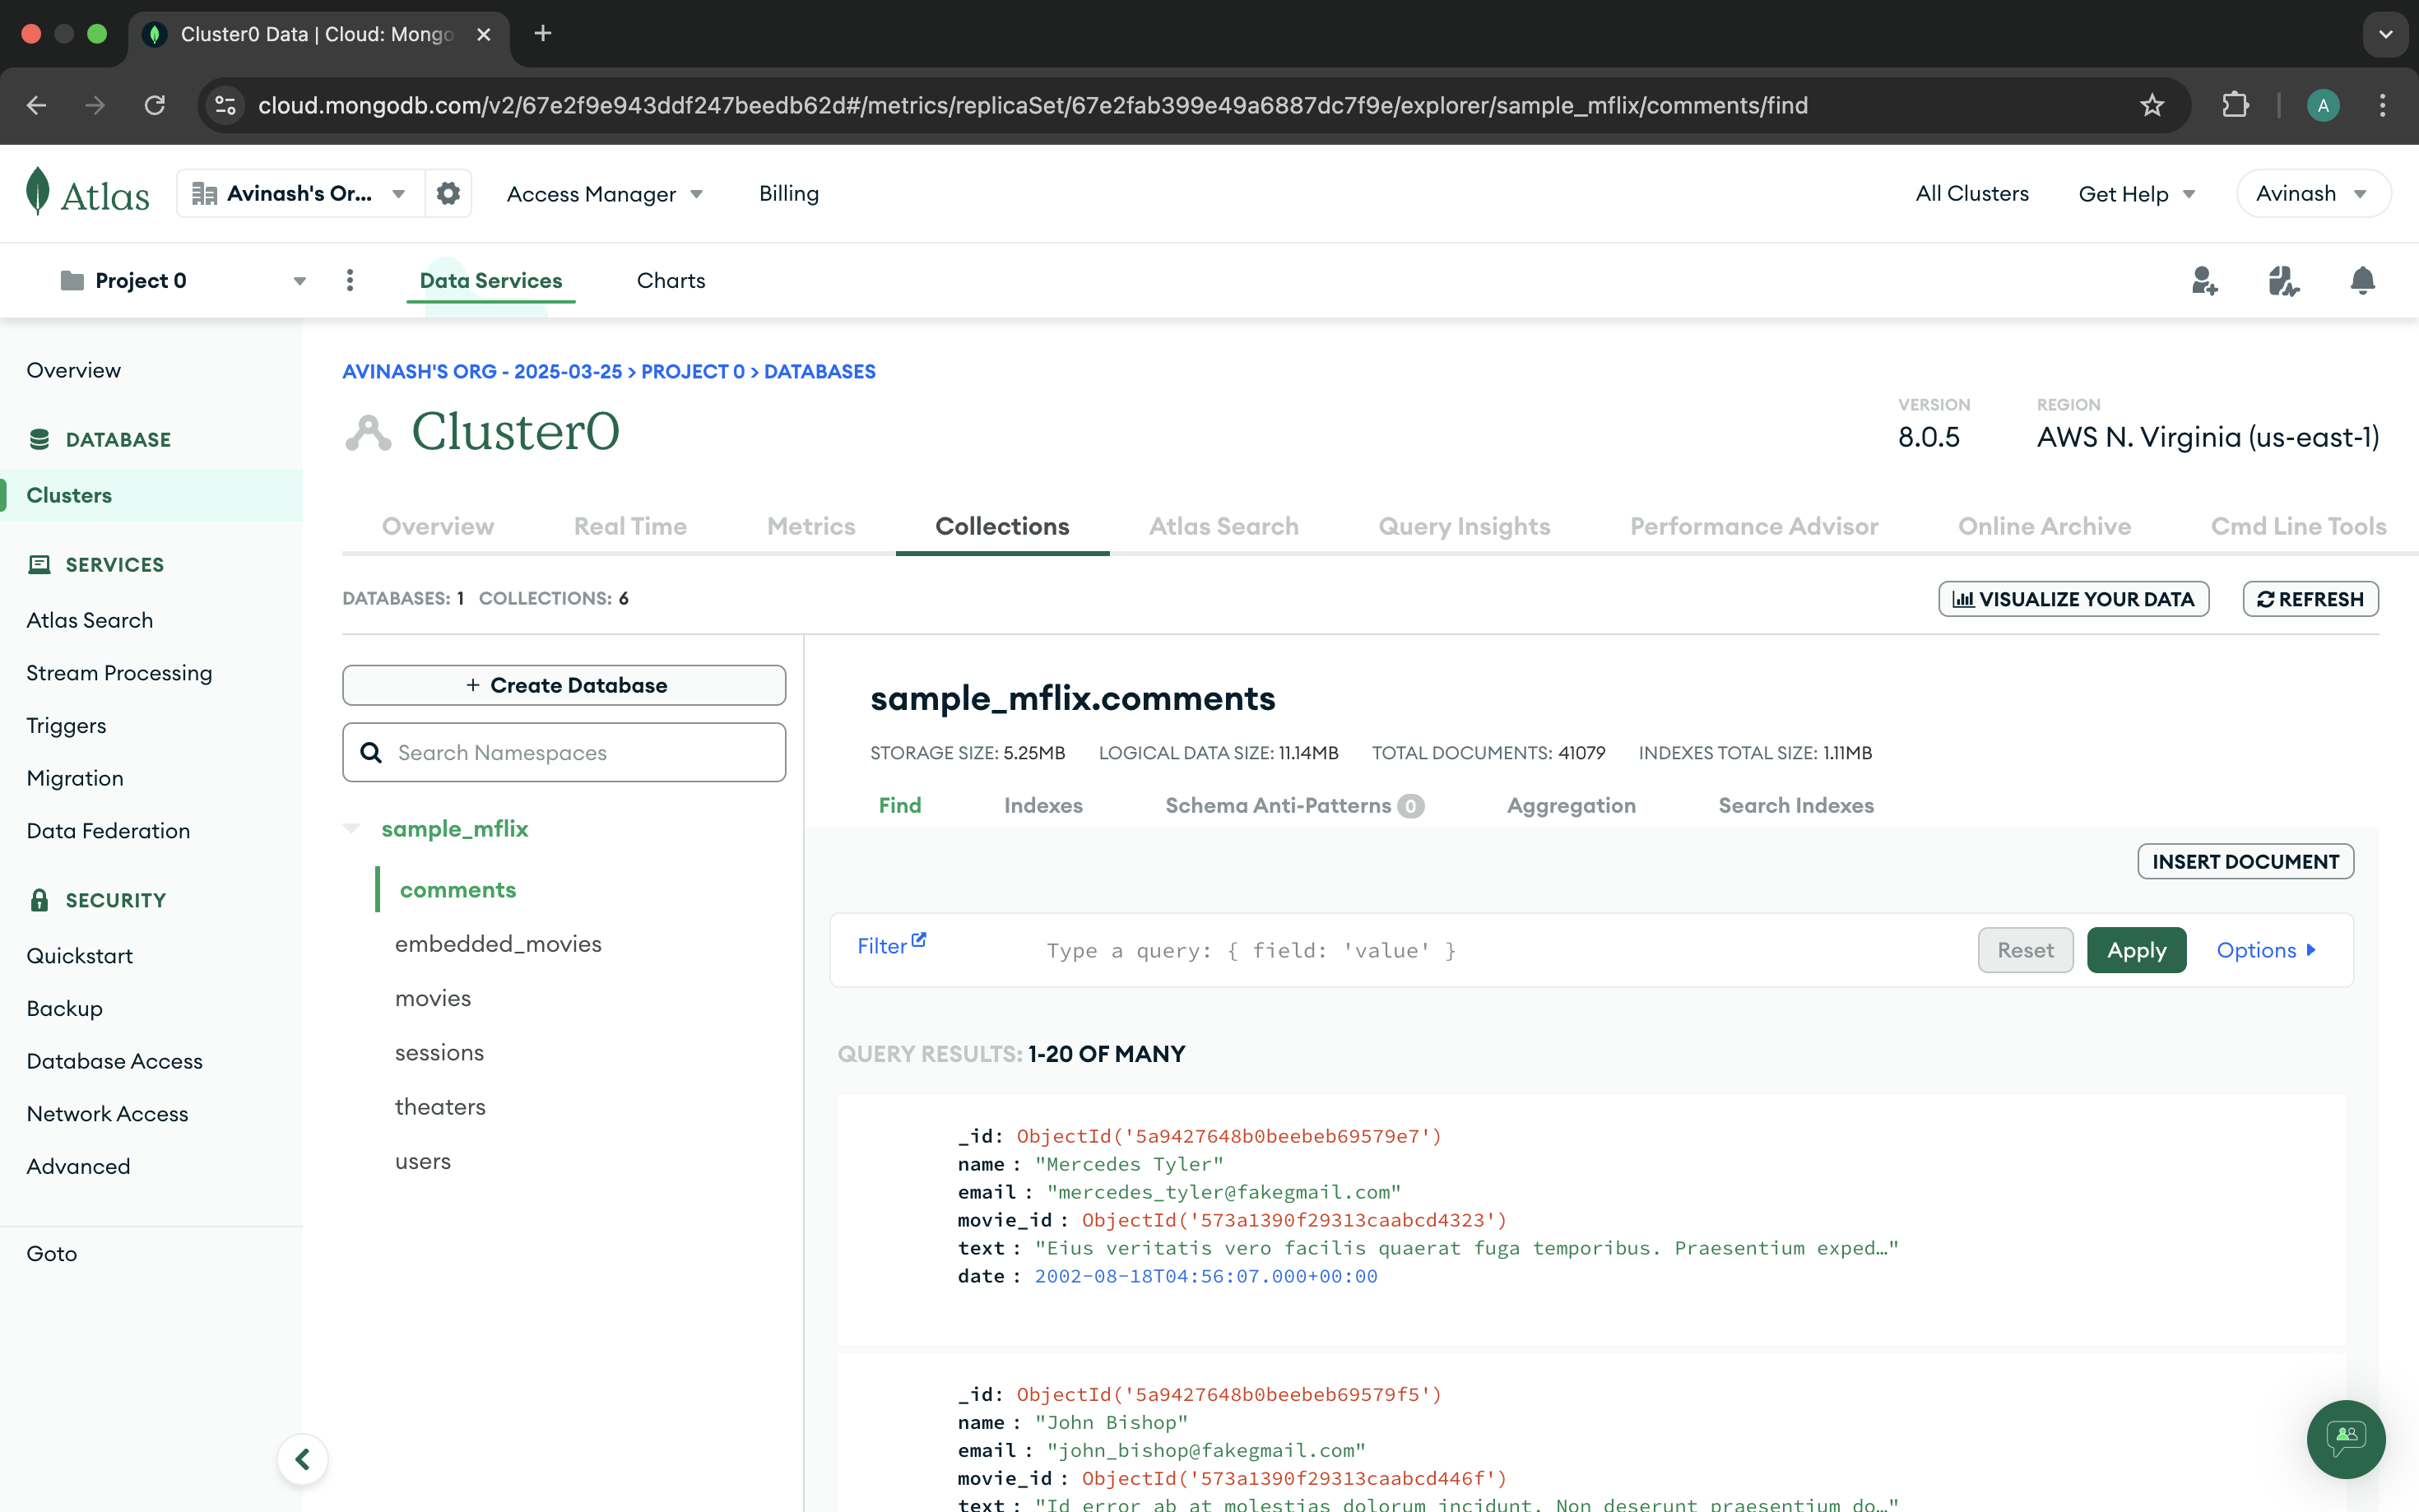
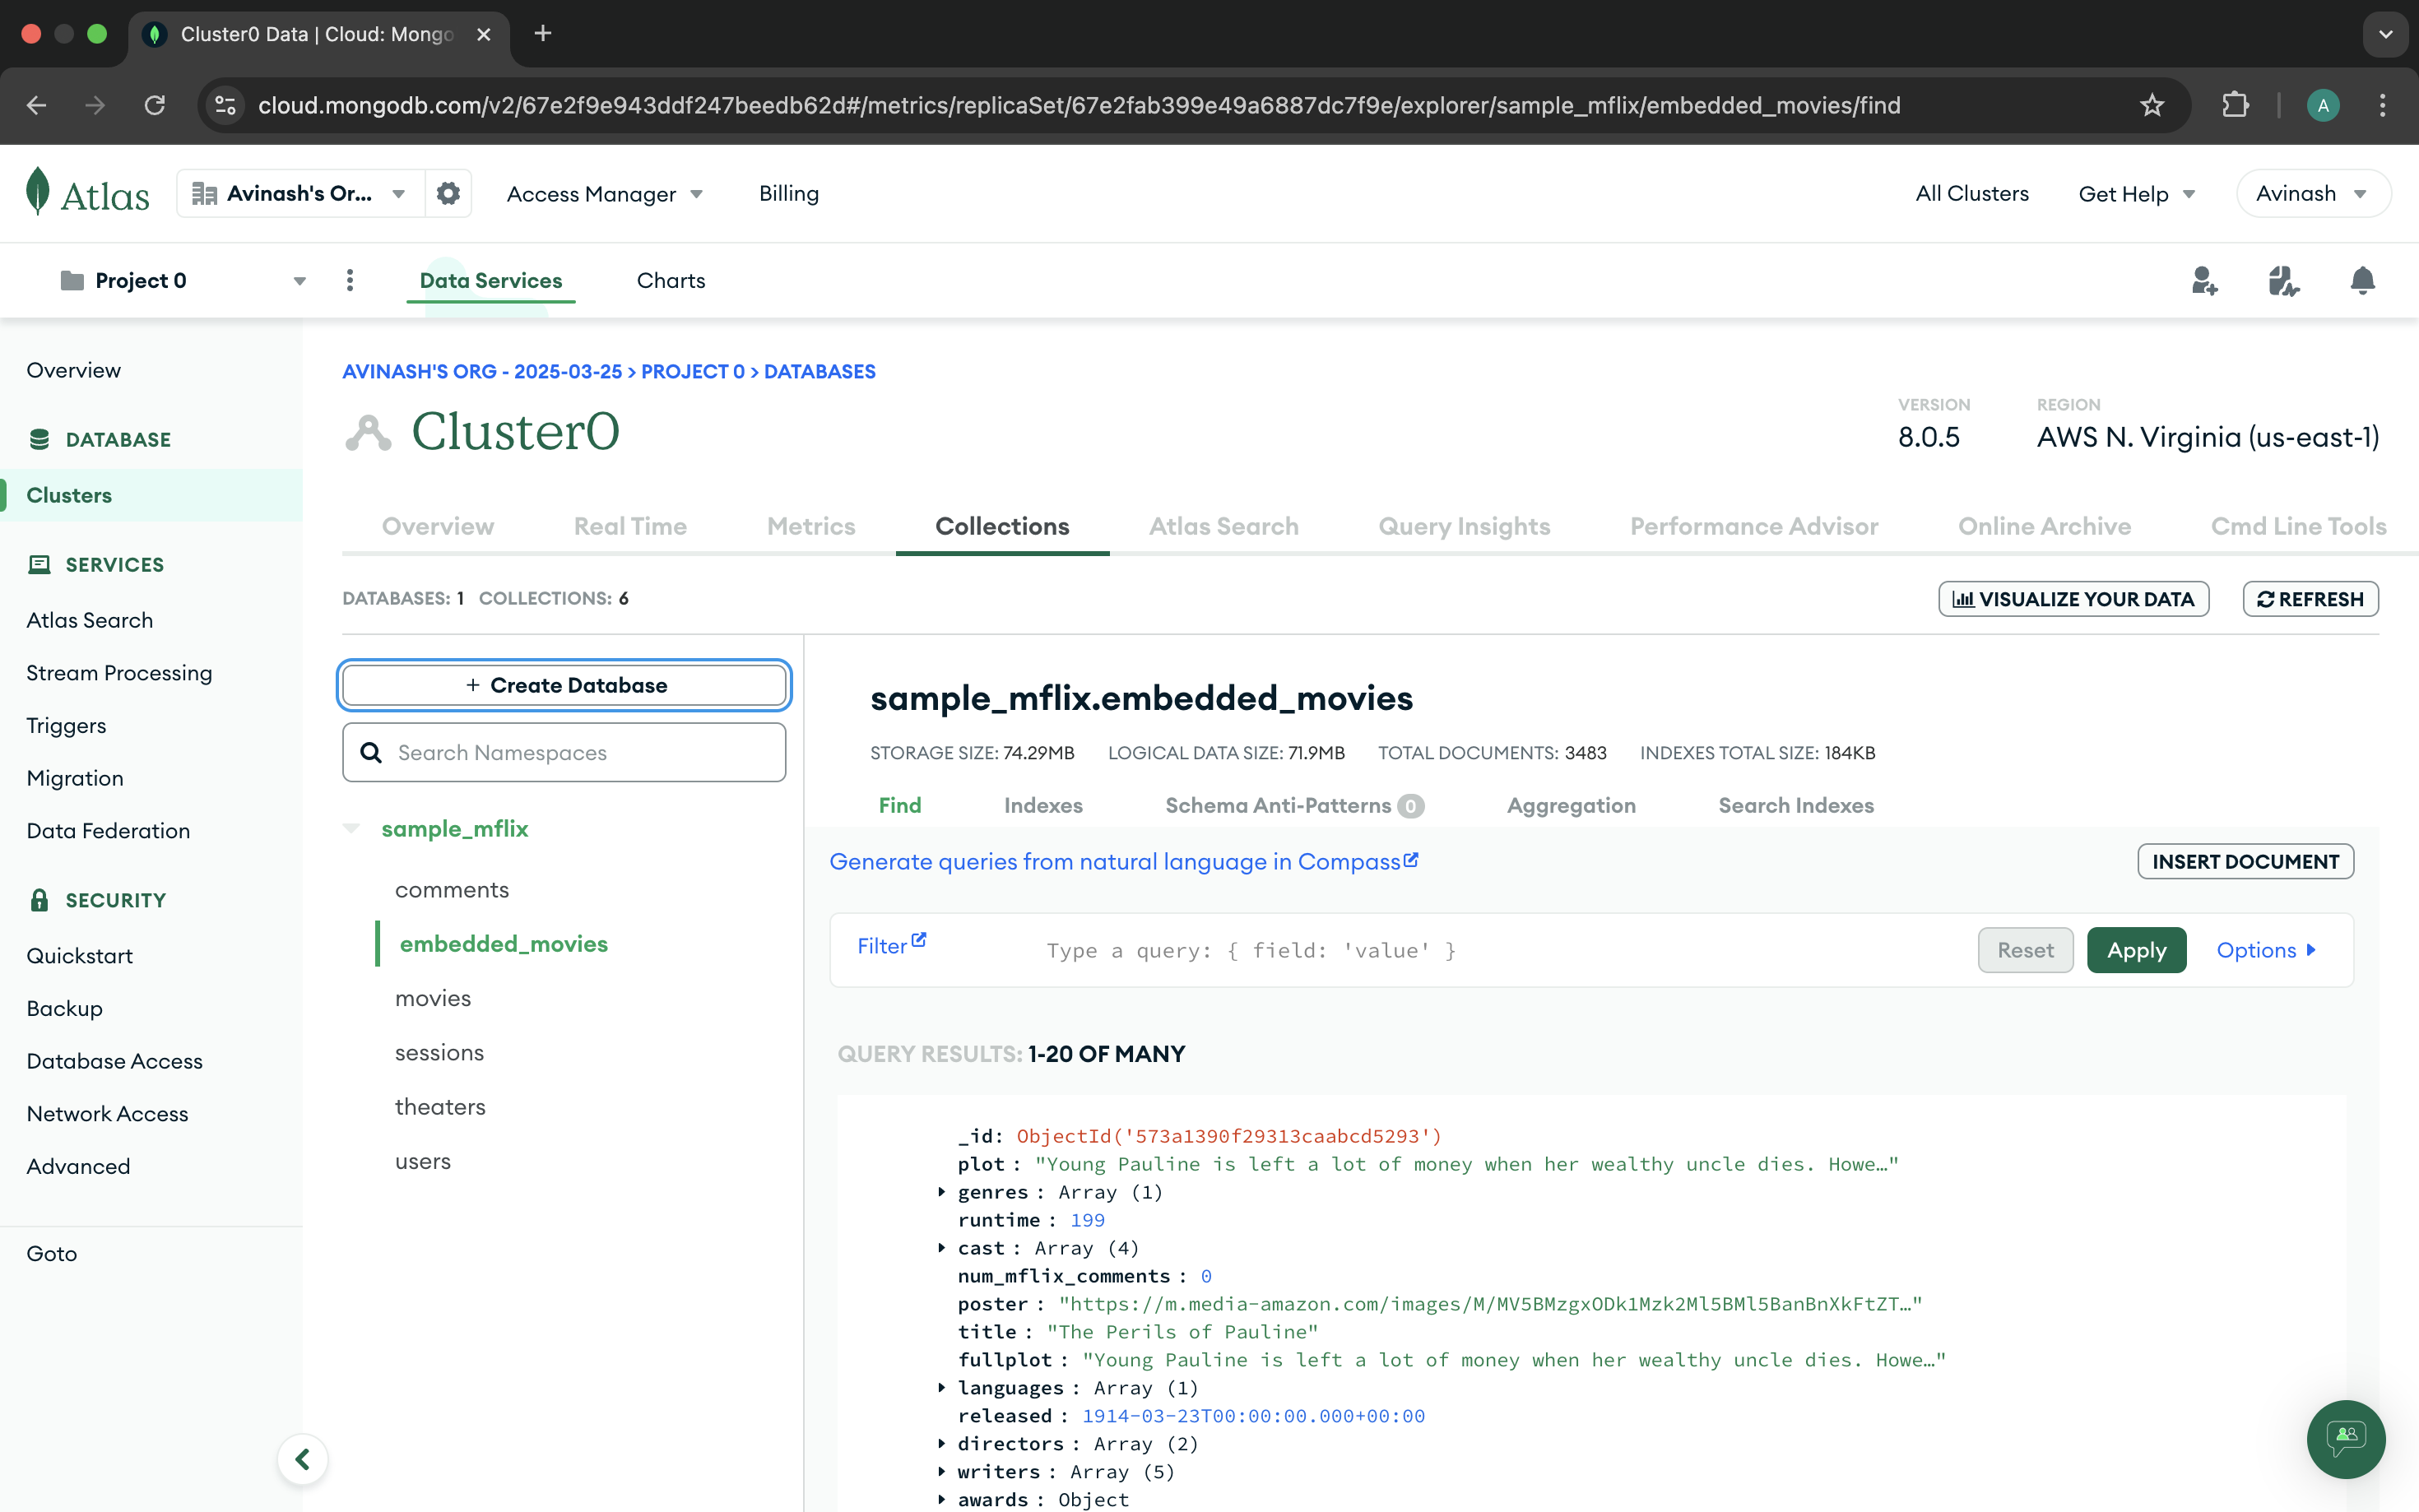
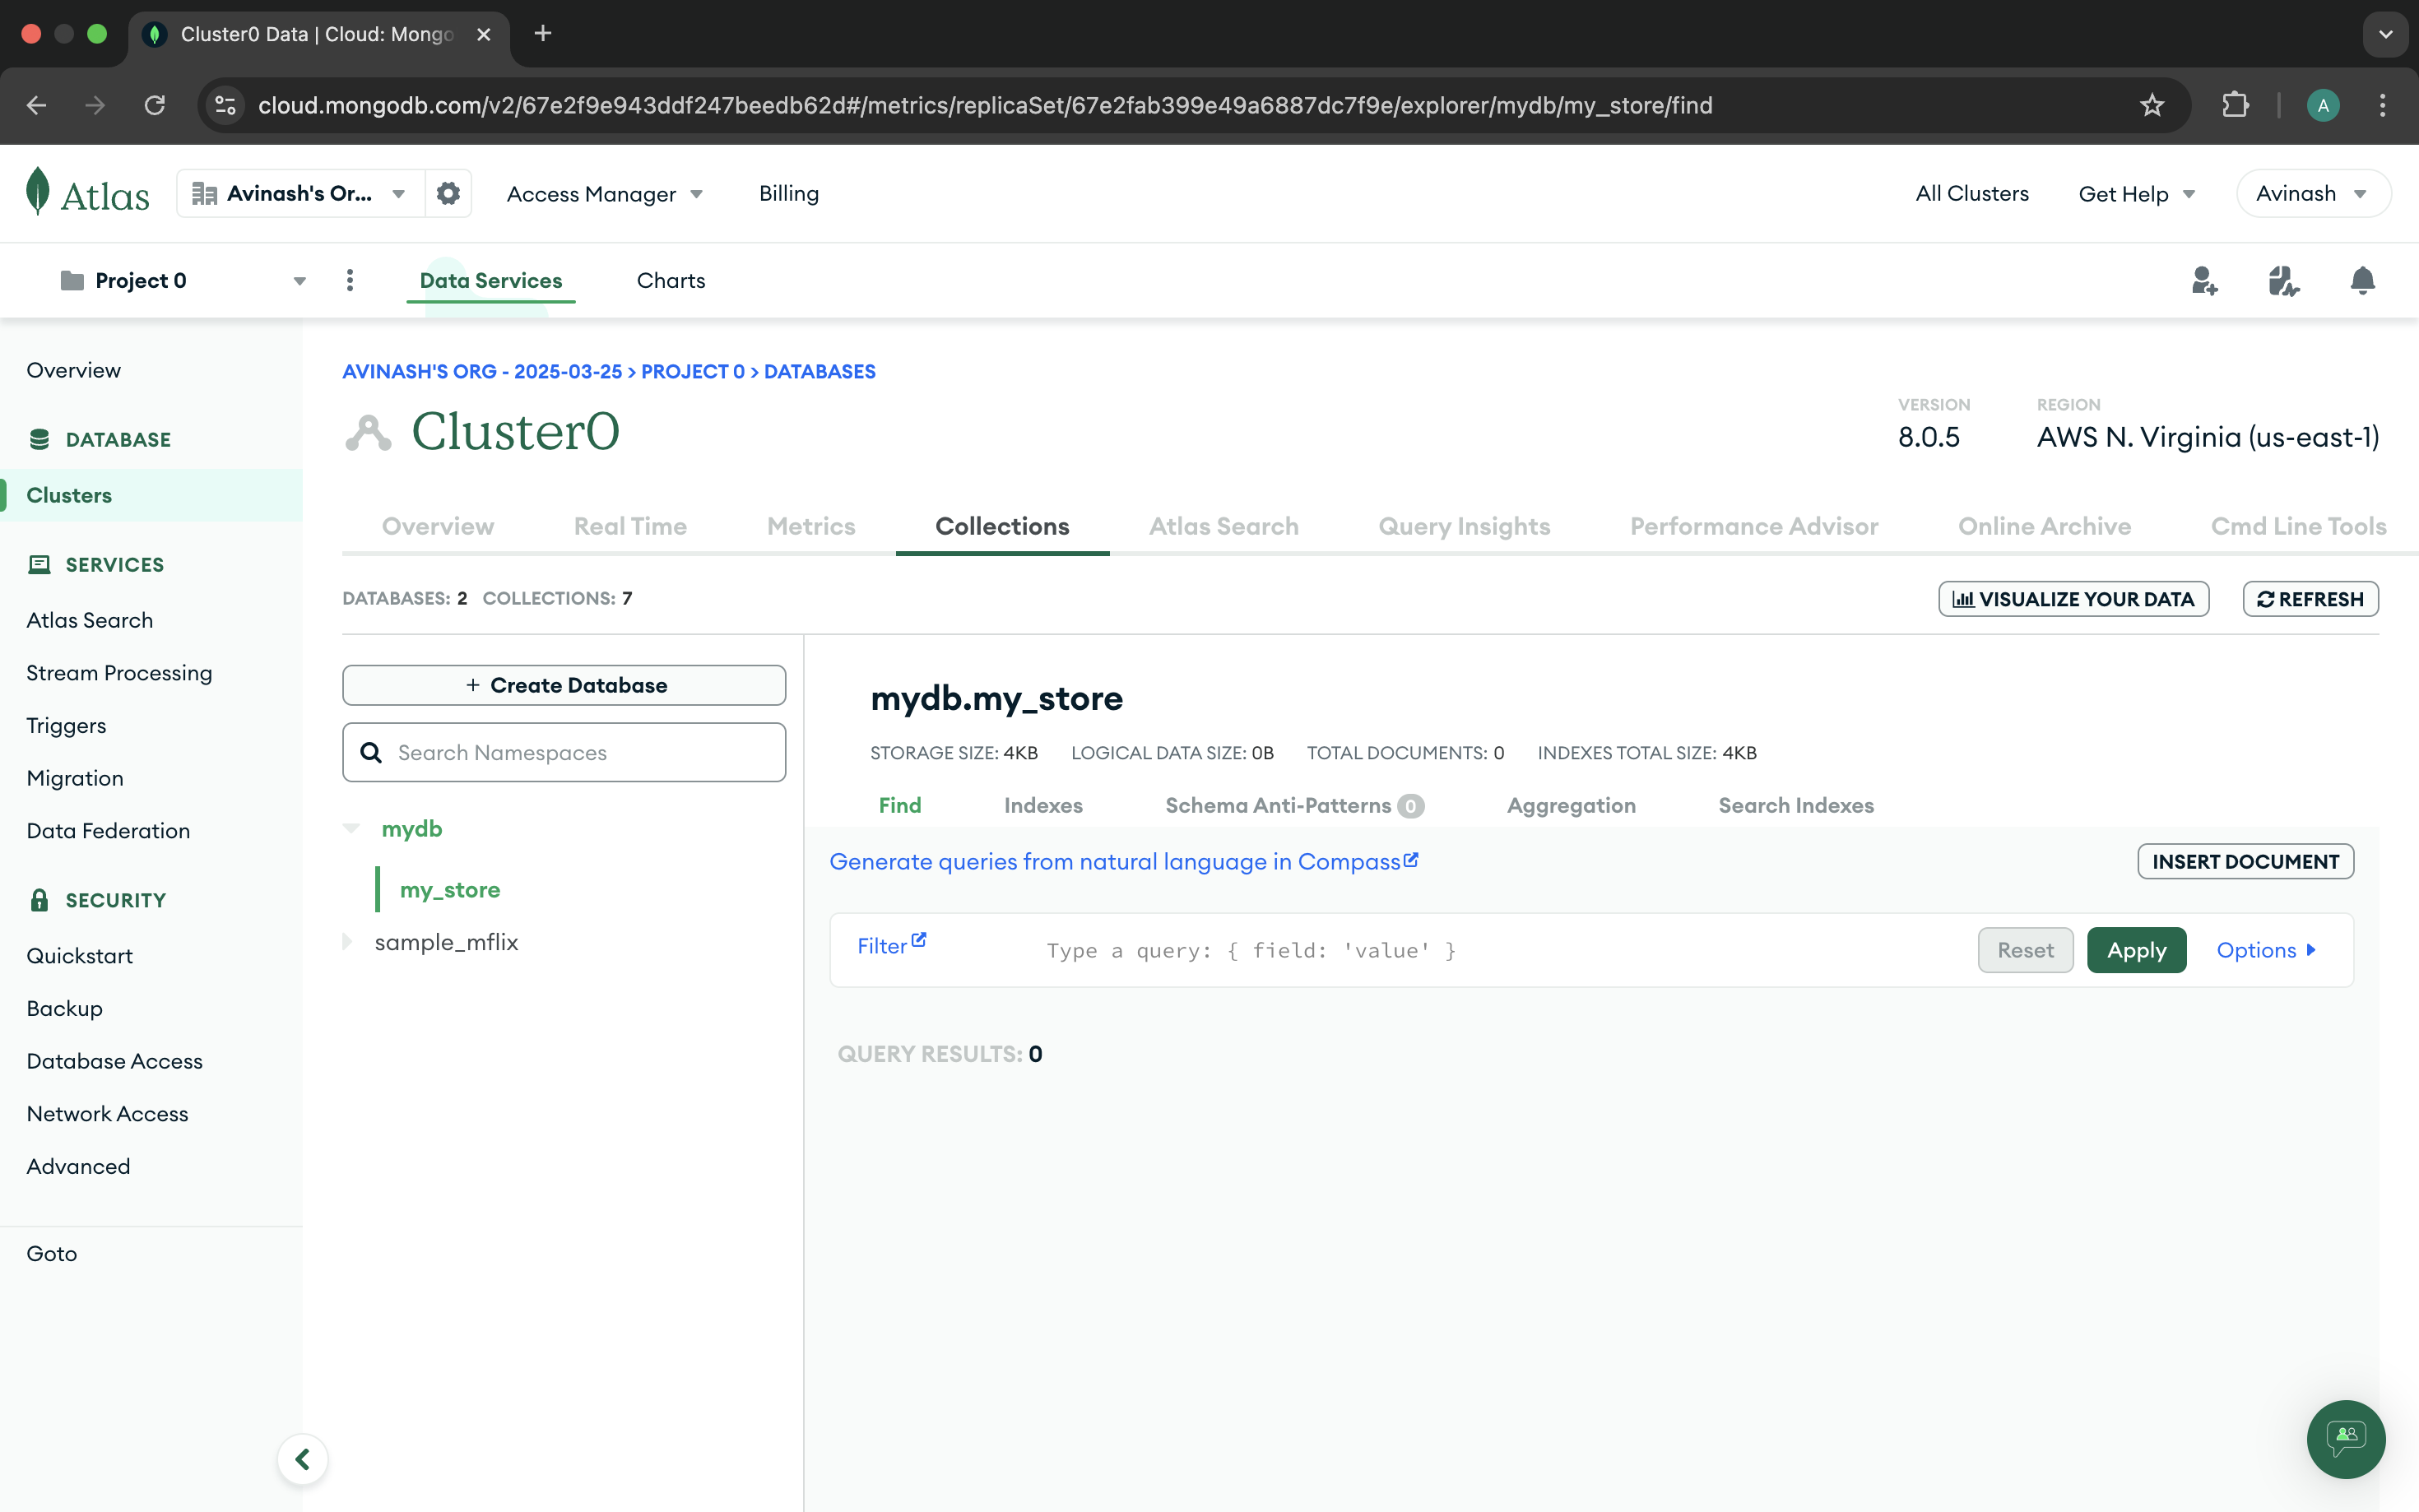
Step 12: Browse the Collectios and Databases
Step 13: You can create a new database and collection
Step 14: Enter the database name and collection name

Step 15: Your Database is created, you can see the details
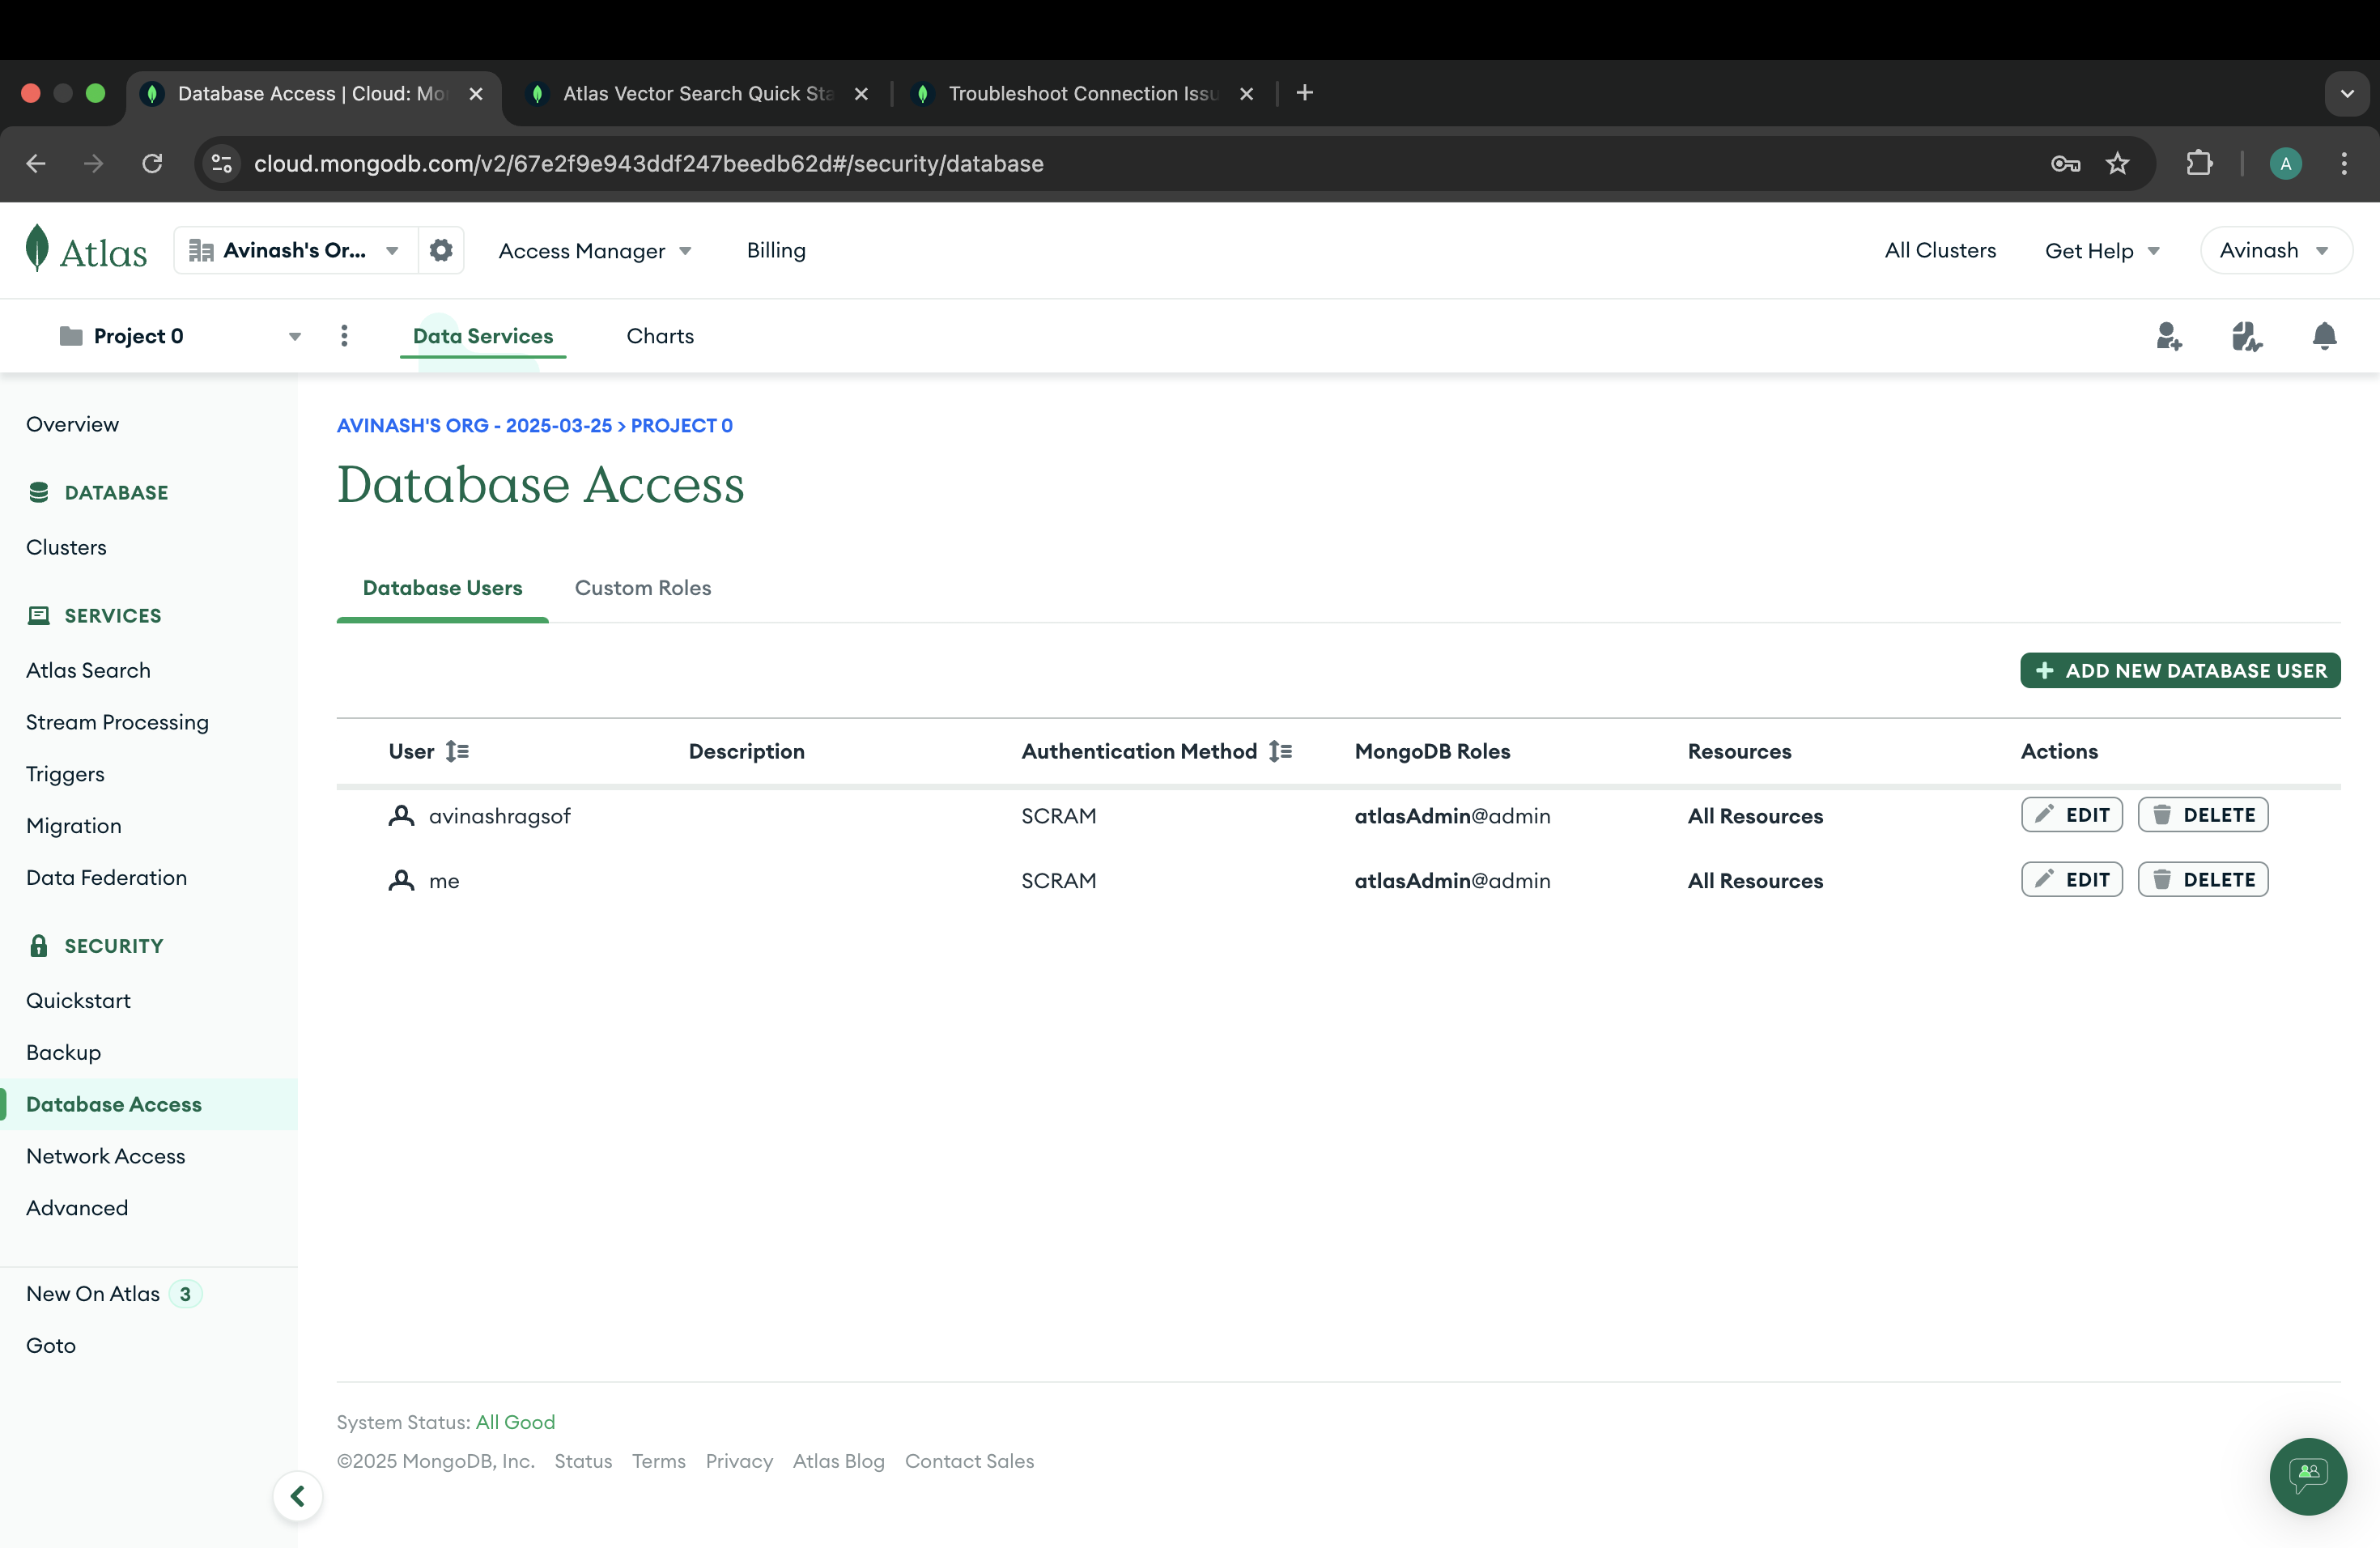
Step 17: In Case you forgot to save the credentials, you can reset the credentials or create a new user
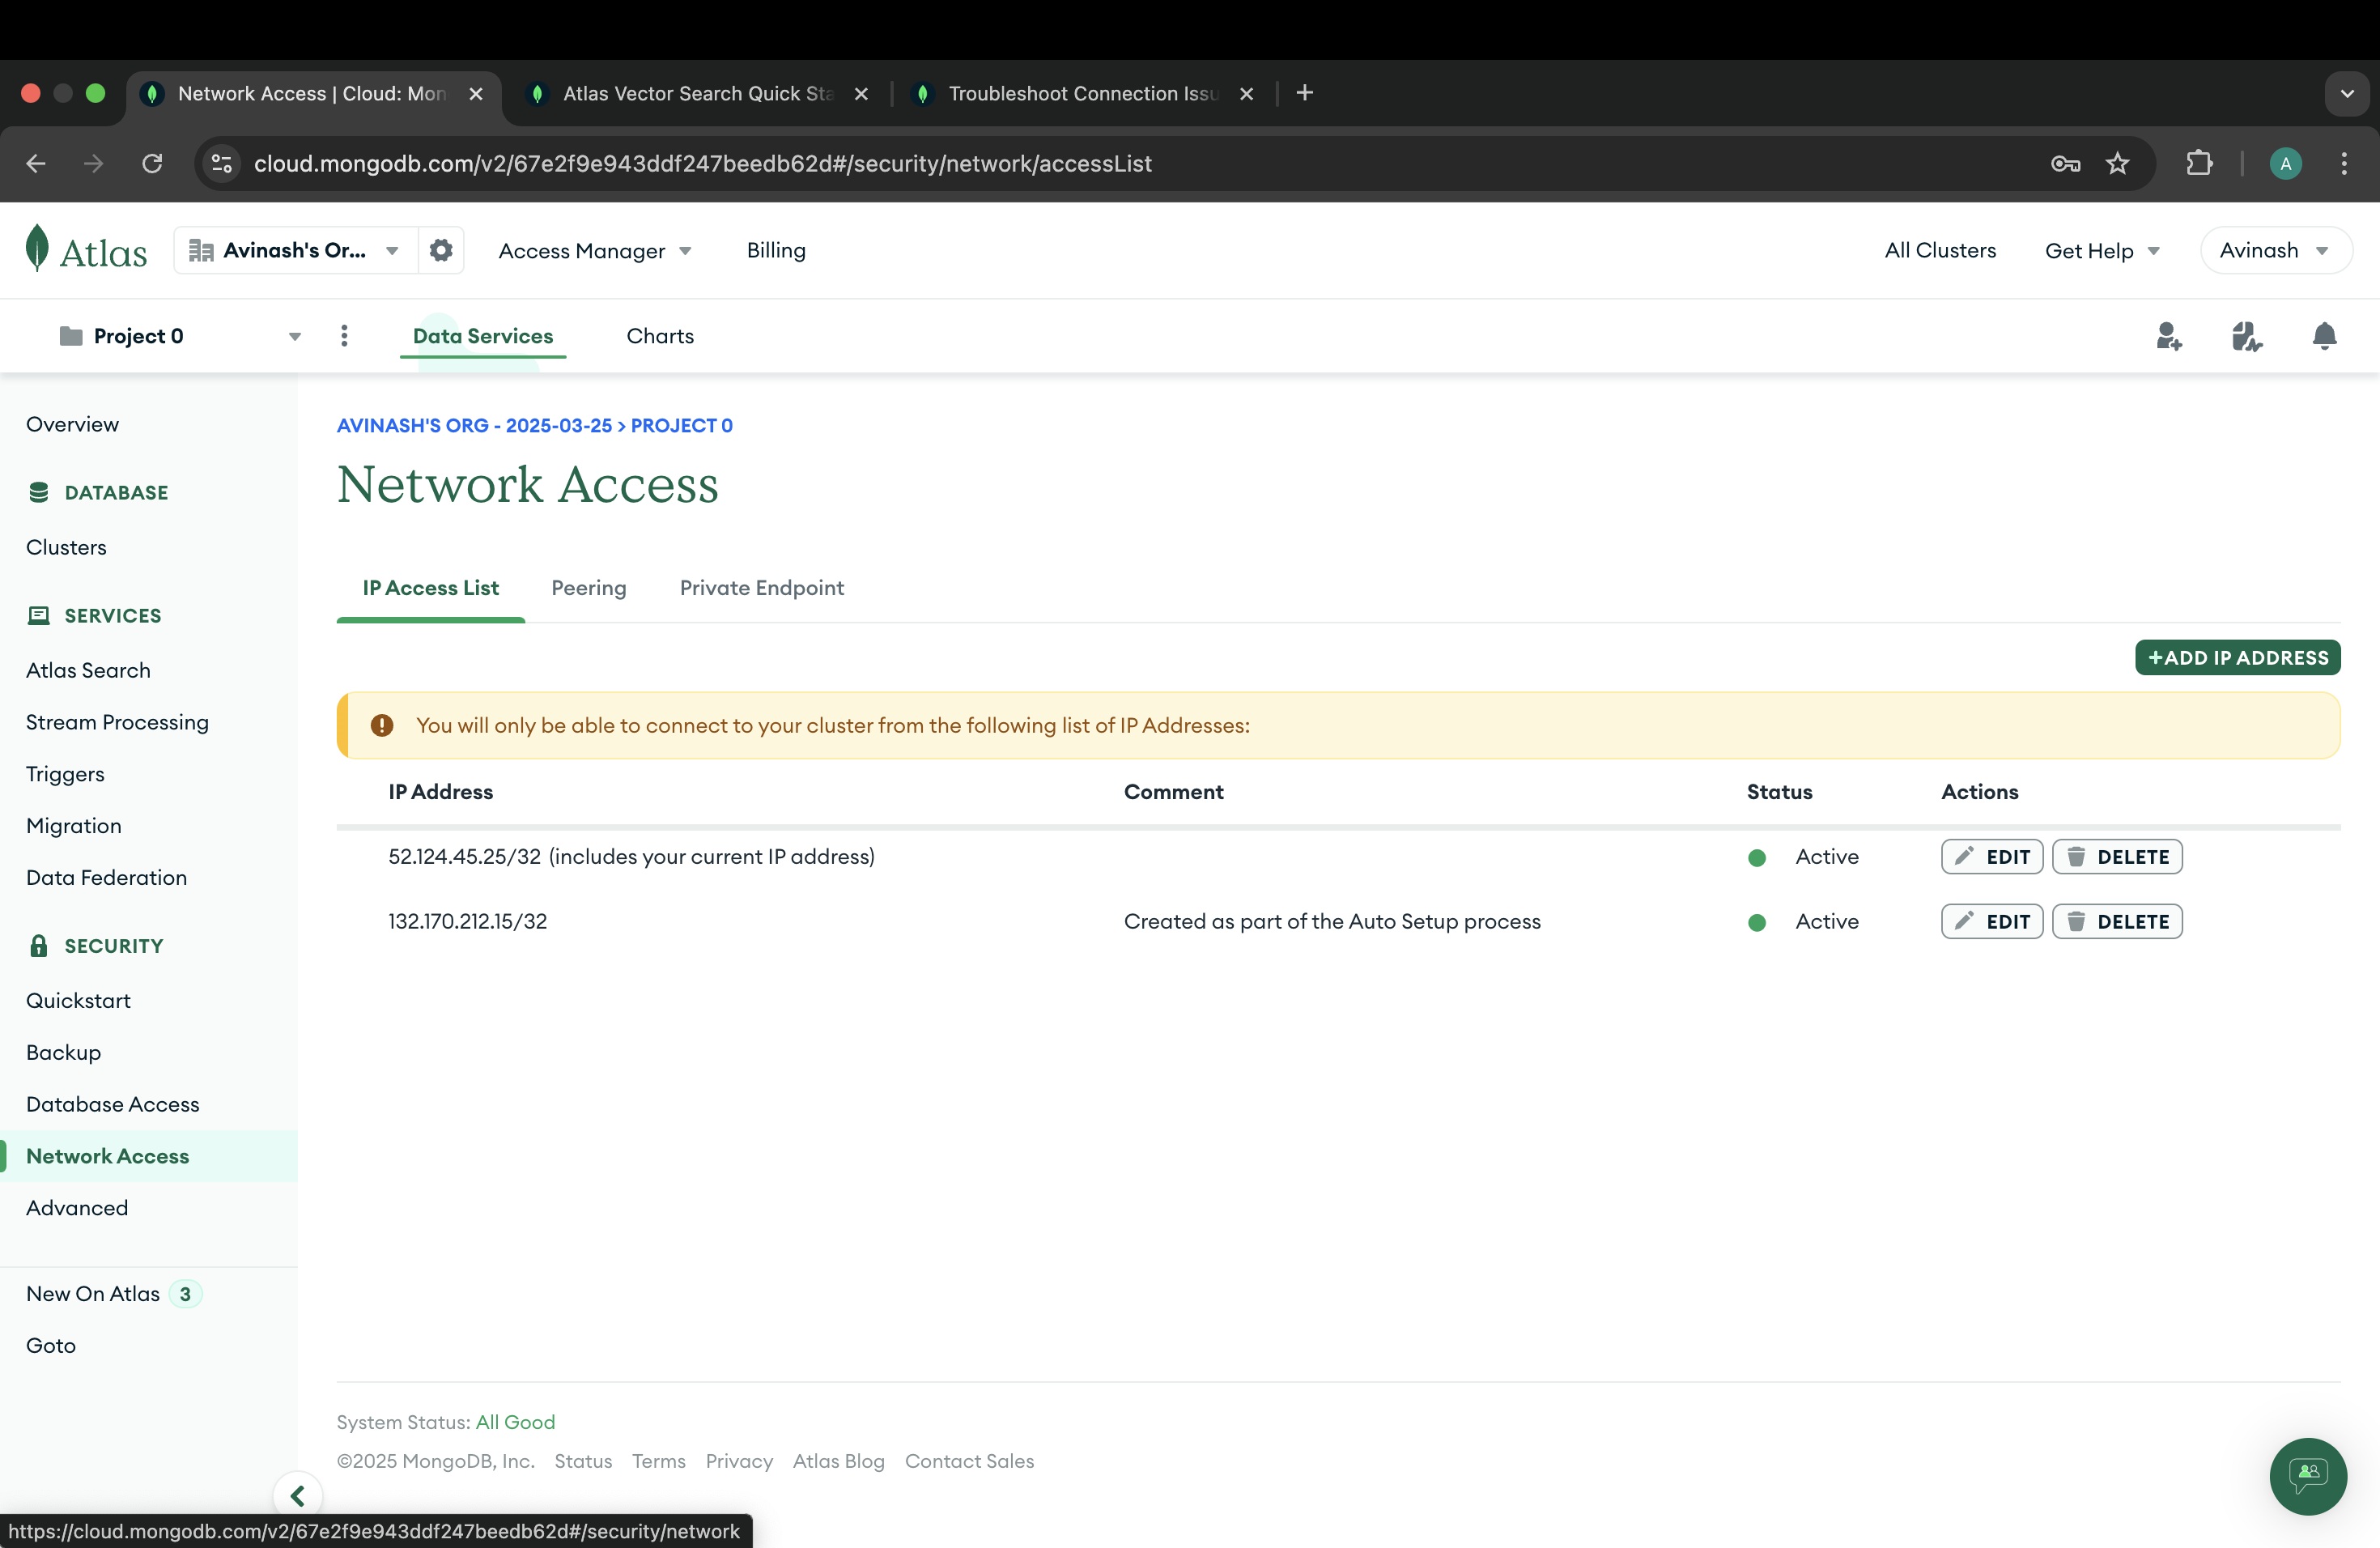
Step 18: You should whitelist the IP address to connect to the database